Before you cook
Background Recipe story & origin
Vegetarian chili emerged in the United States during the 1960s and 1970s as part of a broader cultural shift toward health-conscious eating and plant-based diets. While traditional Texas chili had been made with beef and chiles since the 1800s, the counterculture movement and rising interest in vegetarian cuisine inspired cooks to reimagine this beloved comfort food without meat. The addition of multiple beans—a staple protein source in vegetarian cooking—provided the hearty substance that made chili satisfying without animal products. By the 1970s and 1980s, as zucchini became increasingly popular in American home gardens and farmers' markets, creative cooks began incorporating this abundant summer vegetable into their chili recipes. Zucchini's mild flavor and tender texture made it an ideal addition that added nutrition and bulk while absorbing the rich spices of traditional chili seasoning. The three-bean variation, typically combining kidney beans, black beans, and pinto beans, became a standard approach that offered visual interest, varied textures, and complementary flavors. This version gained particular popularity in health-conscious communities and among home gardeners looking to use their summer harvest. Today, vegetable-forward bean chili represents a democratic evolution of a regional American classic, embraced by vegetarians and omnivores alike as a nutritious, economical, and delicious one-pot meal that celebrates fresh produce and plant-based protein.
Before you start Equipment you'll need
- Large heavy-bottomed pot or Dutch oven — Distributes heat evenly for simmering beans and vegetables without scorching; holds full volume of chili.
- Cutting board — Safe, stable surface for dicing zucchini, peppers, and onion.
- Chef's knife — Efficiently dices vegetables into uniform pieces for even cooking.
- Wooden spoon or silicone spatula — Stirs chili without damaging beans or scratching pot surface.
- Can opener — Opens canned beans and tomatoes.
Safety Safety & allergen notes
- Keep fingers clear of knife blade when dicing vegetables - use a claw grip on non-knife hand to prevent cuts
- Hot pot and simmering liquid can cause severe burns - use pot holders when handling and stir with a long-handled spoon
- Steam from simmering chili can burn skin and eyes - keep face away from pot opening when stirring
- When ladling hot chili, pour slowly to prevent splashing and use a ladle with a secure handle
Non-negotiables Rules for success
-
Drain and rinse canned beans before adding to pot
Removes excess sodium and starch coating that can make chili cloudy and overly thick, resulting in a clearer broth and better texture
-
Add zucchini after bringing chili to boil, not at the beginning
Zucchini releases water and breaks down easily; adding it early results in mushy texture and diluted flavor, while adding mid-cook preserves tender-crisp texture
-
Simmer uncovered for full 25 minutes
Uncovered simmering allows excess moisture to evaporate, concentrating flavors and preventing watery, thin chili consistency
-
Stir occasionally during simmering rather than constantly
Constant stirring breaks down zucchini and beans prematurely; occasional stirring allows proper cooking while maintaining ingredient structure
-
Taste and adjust seasoning at the end, not during cooking
Flavors intensify as liquid reduces during simmering; seasoning early can result in over-salted or over-spiced final dish
Prep Get set first
About 8 min of prep
- Large heavy-bottomed pot or Dutch oven
- Cutting board and chef's knife
- Can opener
- Wooden spoon or silicone spatula
- All fresh vegetables (onion, peppers, zucchini, garlic)
- Three cans of beans and one can of diced tomatoes
- Chili powder, cumin, and salt measured and ready
Most of the prep is vegetable dicing (8 minutes); once assembled, the chili simmers hands-off for 25 minutes, making this a manageable weeknight meal.
Ingredients
Instructions
Unlock Grouped Step Actions
Plus members get tap-to-check action steps and live ingredient swaps for this recipe.
-
Prep vegetables
Dice the yellow onion into ¼-inch pieces. Dice the bell peppers into ½-inch pieces, removing seeds and white pith. Dice the zucchini into ½-inch pieces. Mince the garlic cloves.
-
Build the base: Combine tomatoes, beans, and aromatics
Pour the canned diced tomatoes with their juice into the large heavy-bottomed pot. Drain and rinse the kidney beans, black beans, and pinto beans, then add to the pot. Add the diced yellow onion, diced bell peppers, minced garlic cloves, chili powder, cumin, and salt to the pot. Stir to combine all ingredients.
-
Simmer with zucchini
Bring the chili to a boil over medium-high heat, then reduce to medium and add the diced zucchini. Simmer uncovered for 25 minutes, stirring occasionally, until zucchini is tender and flavors meld.
-
Finish and serve
Taste the chili and adjust seasoning with additional salt, chili powder, or black pepper as needed. Ladle into bowls and serve hot with desired toppings.
Chef's notes
For deeper flavor, sauté the onion and garlic in 1 tablespoon olive oil for 2 minutes before adding tomatoes and beans.
If zucchini is very large, scoop out and discard excess seeds before dicing to reduce watery texture.
Chili tastes better the next day; make ahead and refrigerate up to 4 days, or freeze up to 3 months.
Adjust heat with chili powder or cayenne; start with 1 teaspoon and taste before adding more.
For a thicker chili, simmer uncovered for the final 10 minutes; for brothier, add ½ cup vegetable broth mid-simmer.
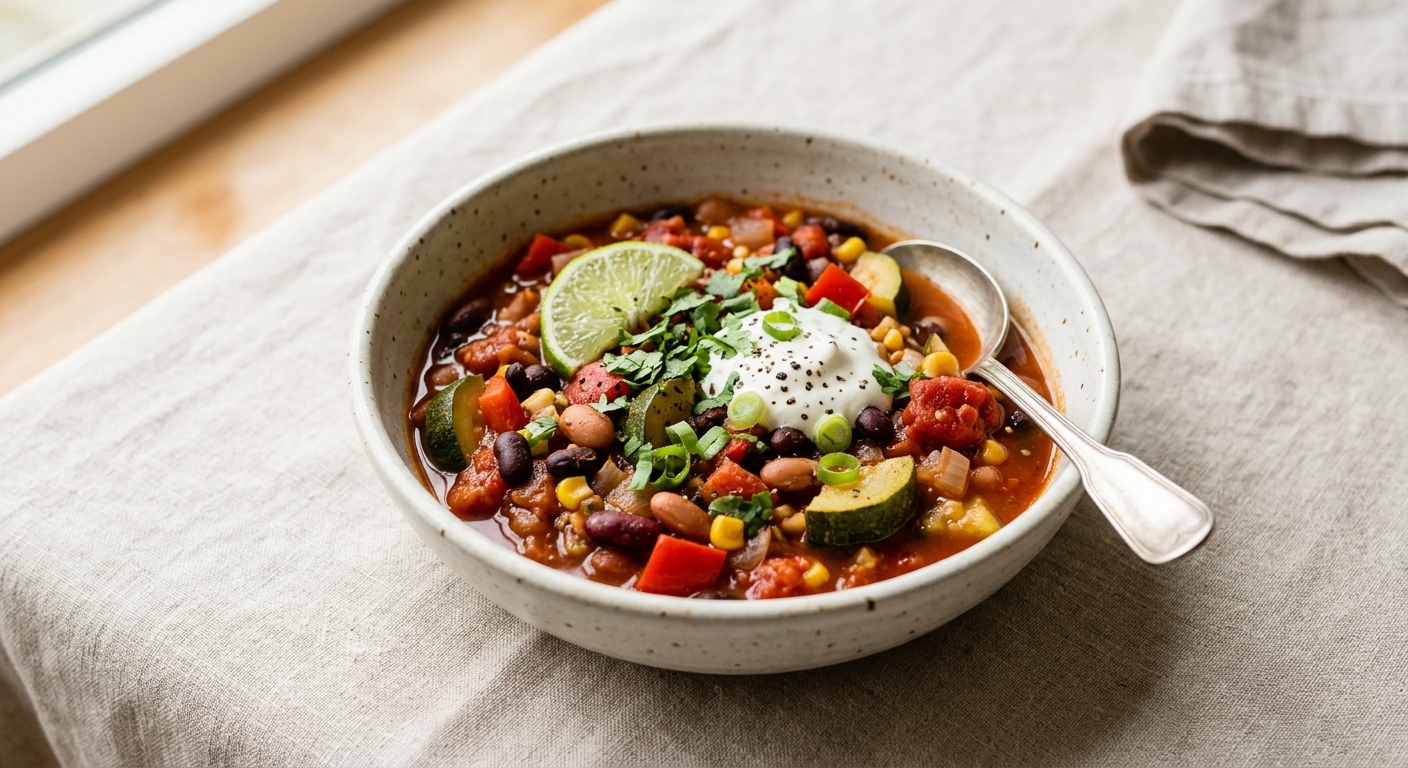
Serve with cornbread, over rice, or topped with avocado, cilantro, and lime wedge.