Before you cook
Background Recipe story & origin
Venison chili has its roots in the hunting camps and frontier settlements of 19th-century America, where it emerged as a practical solution for preserving and preparing wild game. As European settlers and American hunters pushed westward, they adapted traditional chili recipes—which had Spanish origins and were already popular in the Southwest—to incorporate the abundant venison available in forested regions. Unlike the beef-centric chilis of Texas and the tomato-based versions of the Southwest, venison chili developed its own character in the Appalachian Mountains and Rocky Mountain regions, where hunters needed hearty, warming meals that could be prepared over campfires with minimal equipment. The dish's smoky, deep flavors came naturally from cooking over open flames and the rich, gamey quality of venison itself. Throughout the 20th century, venison chili transitioned from purely utilitarian campfire fare to a celebrated regional specialty, appearing at hunting lodges, community game dinners, and family tables across rural America. The recipe remained flexible and rustic—varying by region and individual preference—but always centered on the premise that venison's bold flavor could stand up to robust spices and slow cooking. Today, venison chili represents a connection to American hunting heritage and frontier traditions, experiencing renewed popularity as nose-to-tail cooking and wild game cuisine have gained modern appreciation among home cooks seeking authentic, locally-sourced alternatives to conventional meats.
Before you start Equipment you'll need
- Large heavy-bottomed pot or Dutch oven — Distributes heat evenly to prevent scorching and allows proper browning of venison and bacon
- Wooden spoon or heat-resistant spatula — Stirs venison without tearing it and scrapes fond from pot bottom for deeper flavor
- Measuring spoons and cups — Ensures consistent spice balance and proper liquid ratios
- Knife and cutting board — Dices onion and garlic for even cooking and flavor distribution
Safety Safety & allergen notes
- Hot bacon grease can splatter - keep face and hands away from pot when stirring, and use a splatter screen if available
- Ground venison reaches safe temperature at 160°F internal - use a meat thermometer to verify doneness, as visual browning alone may not indicate food safety
- Pot handles and rim stay extremely hot during cooking - always use pot holders when handling and keep children away from the stovetop
- Stirring spices into hot fat can cause brief flare-ups - stir constantly and keep a lid nearby to smother flames if needed
- Steam from simmering chili can cause burns - lift pot lid away from your face and body, and avoid leaning over the pot
Non-negotiables Rules for success
-
Render bacon completely until crisp before browning venison
Fully rendered bacon fat provides the flavorful fat base for browning meat; undercooked bacon won't release enough fat and leaves chewy pieces that won't crisp during simmering
-
Brown venison in two batches without crowding the pot
Overcrowding causes steaming instead of browning; the meat won't develop the deep caramelized crust that creates complex smoky flavor
-
Toast spices for exactly 30 seconds while stirring constantly
Blooming spices releases essential oils and deepens flavor; too long burns them and creates bitter, acrid taste; too short leaves them flat and muted
-
Scrape the pot bottom when adding liquid to release fond
Fond contains concentrated browned meat and spice flavors; releasing it distributes rich, savory depth throughout the chili
-
Simmer uncovered on low heat for full 25 minutes
Uncovered simmering allows excess moisture to evaporate and flavors to concentrate; low heat prevents scorching and allows beans to soften without falling apart
Prep Get set first
About 8 min of prep
- Gather all ingredients and measure out spices (chili powder, smoked paprika, cumin, oregano, cayenne)
- Drain and rinse kidney beans and black beans
- Dice yellow onion and mince garlic
- Chop bacon into 1/4-inch pieces
- Have large heavy-bottomed pot or Dutch oven ready on stovetop
- Get wooden spoon and slotted spoon within reach
- Open cans of diced tomatoes with green chiles and beef broth
This is a 59-minute recipe with about 30 minutes of active cooking time; most of the final half is hands-off simmering, so prep thoroughly and you'll have an easy finish.
Ingredients
Instructions
Unlock Grouped Step Actions
Plus members get tap-to-check action steps and live ingredient swaps for this recipe.
-
Prep and render bacon
Chop bacon into 1/4-inch pieces. Place bacon in the large heavy-bottomed pot over medium-high heat and cook, stirring occasionally, until crisp and fat is rendered. Remove bacon with a slotted spoon and set aside, leaving fat in pot.
-
Brown venison
Add ground venison to the pot in two batches, breaking it apart with a wooden spoon, and cook until no pink remains and meat is deeply browned. Pour off excess fat if needed, leaving about 2 tablespoons in the pot.
-
Build the base: aromatics and spices
Add diced yellow onion and minced garlic to the pot and stir constantly until softened and fragrant. Sprinkle chili powder, smoked paprika, cumin, oregano, and cayenne pepper over the mixture and stir to coat. Toast spices for 30 seconds, stirring constantly to bloom them.
-
Add liquid and beans
Pour in beef broth and barbecue sauce, scraping the bottom of the pot to release fond. Stir in diced tomatoes with green chiles, kidney beans, and black beans. Return the crispy bacon to the pot and stir to combine.
-
Simmer and finish
Bring chili to a gentle simmer, then reduce heat to low and simmer uncovered for 25 minutes, stirring occasionally. Season with kosher salt and black pepper to taste.
Chef's notes
Venison is very lean; do not skip the bacon fat—it carries flavor and prevents drying.
Brown venison in batches if crowded; overcrowding steams meat instead of searing.
Taste and adjust heat at the end; chili spices bloom as it simmers.
For campfire cooking, maintain a steady bed of coals; avoid direct flame to prevent scorching.
Chili thickens as it sits; add water or broth if reheating the next day.
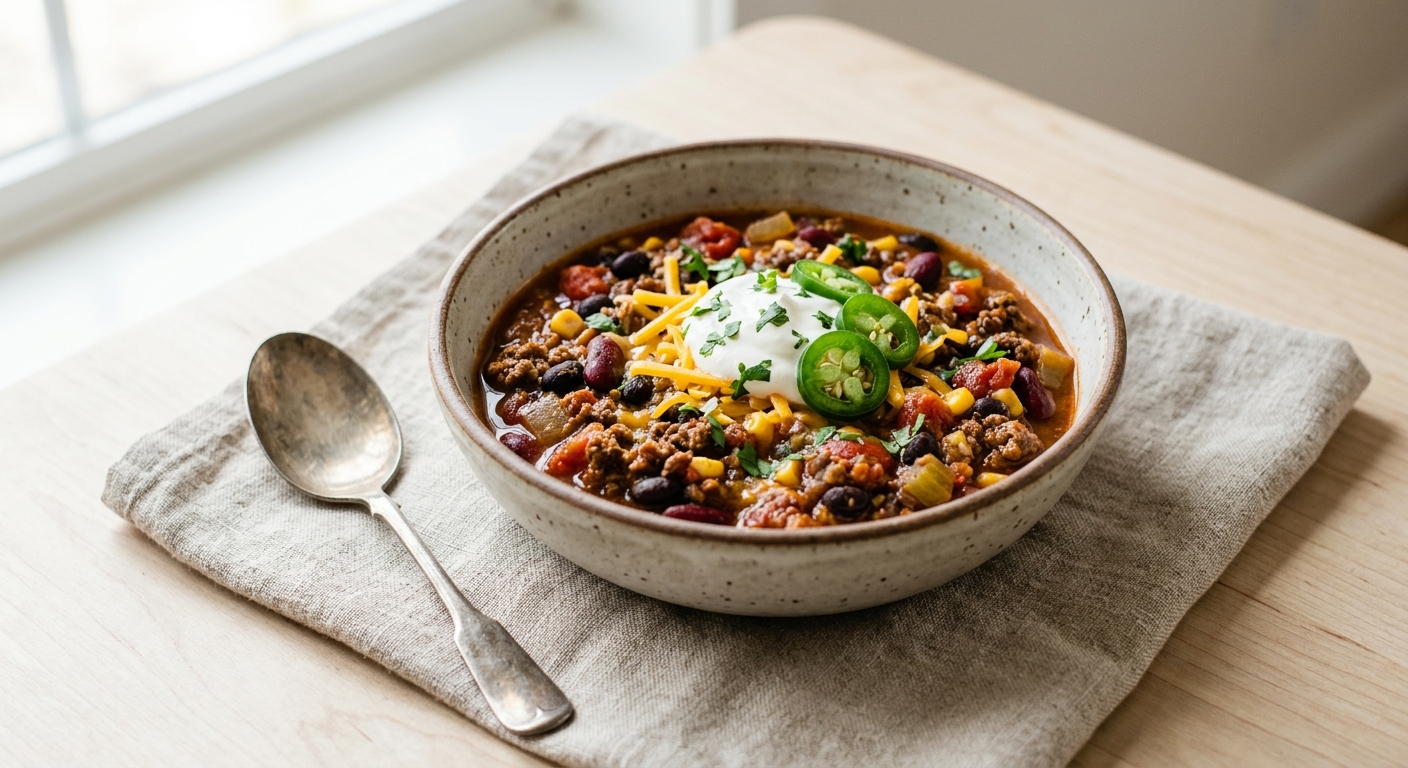
Top with sour cream, diced onion, or shredded cheese to balance the smoke and heat.