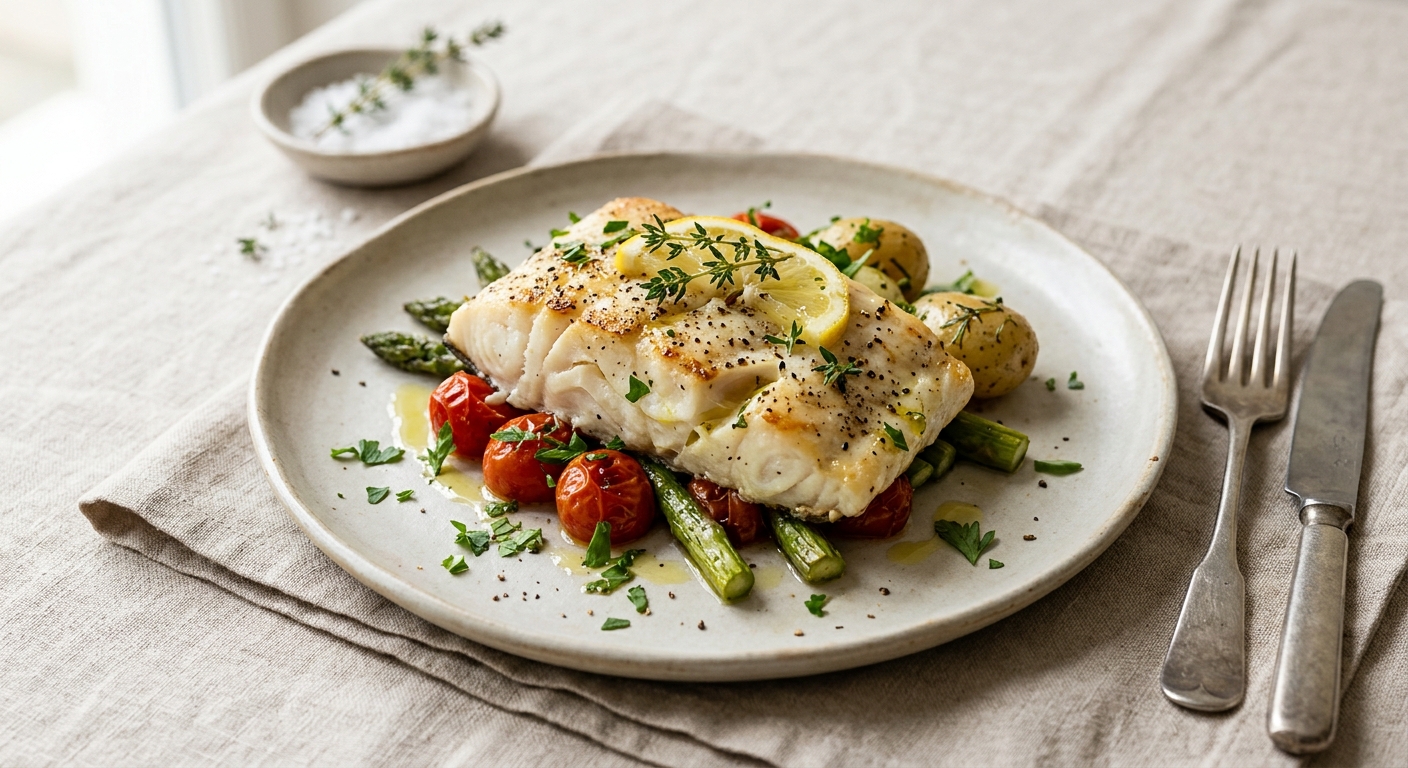
This recipe was automatically generated and is waiting for our culinary review. The instructions and ingredients are complete and ready to use, but we have not reviewed or tested it yet. Try it out and tell us what you think. Your feedback will help us make it even better!
Ingredients
- 4 cod fillets (about 6 oz each, 1-inch thick)
- 2 tablespoons olive oil
- 1 teaspoon kosher salt
- 0.5 teaspoon black pepper
- 1 teaspoon garlic powder
- 1 teaspoon paprika
- 0.5 teaspoon onion powder
- 1 lemon
- 2 tablespoons unsalted butter
- 2 tablespoons fresh parsley
Before you start
Equipment You'll Need
- Rimmed baking sheet
- Aluminum foil or parchment paper
- Paper towels
- Small mixing bowl
- Measuring spoons
- Chef's knife and cutting board
- Fork (for testing doneness)
- Pastry brush (optional)
Safety Tips & Important Notes
Follow these for best results and safety.
- The single most important technique is patting the fish completely dry before seasoning. Moisture on the surface causes the fish to steam instead of bake, resulting in a mushy texture.
- Cod fillets vary in thickness. If your fillets are thinner than 1 inch (about 0.5 inch), start checking for doneness at 8 to 10 minutes to avoid overcooking.
- The cod is perfectly cooked when it reads an internal temperature of 145°F (63°C) on an instant-read thermometer. This is the safest and most accurate way to check doneness.
- Do not overcook cod. It goes from perfectly flaky to dry and rubbery very quickly. Pull it from the oven as soon as it turns fully opaque and flakes easily.
- If your fillets have an uneven thickness with a thin tail end, fold the thin end underneath itself to create a more uniform thickness so the whole fillet cooks evenly.
- Use a fish spatula or a wide, thin spatula to lift the fillets off the baking sheet to prevent them from breaking apart.
Instructions
-
Remove the cod fillets from the refrigerator 15 minutes before cooking to allow them to come closer to room temperature, which helps them cook more evenly.
-
Preheat your oven to 400°F (200°C) and line a rimmed baking sheet with aluminum foil or parchment paper for easy cleanup.
-
Pat the cod fillets completely dry on both sides using paper towels. Removing surface moisture is the most important step for achieving a good texture rather than a steamed, watery result.
-
In a small bowl, combine the salt, black pepper, garlic powder, paprika, and onion powder. Mix well to create your seasoning blend.
-
Place the dried cod fillets on the prepared baking sheet, spacing them at least 1 inch apart. Drizzle the olive oil evenly over each fillet and use your hands or a brush to coat both sides lightly.
-
Sprinkle the seasoning blend evenly over the top of each fillet. Cut 4 thin slices from the lemon and place one slice on top of each fillet. Cut the remaining lemon into wedges and set aside for serving.
-
Cut the butter into 4 small pieces and place one piece on top of each seasoned fillet. The butter will melt during baking and baste the fish, keeping it moist and adding richness.
-
Place the baking sheet in the preheated oven and bake for 12 to 15 minutes. The cod is done when it turns opaque white all the way through and flakes easily when you press it gently with a fork. Do not overbake.
-
Remove the baking sheet from the oven and let the fillets rest for 2 minutes. Finely chop the fresh parsley and sprinkle it over the fillets. Serve immediately with the reserved lemon wedges on the side.
Chef's notes
Storage: Leftover cooked cod can be stored in an airtight container in the refrigerator for up to 2 days. Reheat gently in a 275°F oven for 10 minutes to avoid drying it out.
Serving suggestions: This cod pairs beautifully with roasted vegetables, steamed rice, mashed potatoes, or a simple green salad.
Substitutions: This same method and seasoning works well with other white fish such as haddock, tilapia, halibut, or pollock. Adjust cooking time based on fillet thickness.
Fresh vs. frozen: If using frozen cod, thaw it completely in the refrigerator overnight before cooking. Never cook cod from frozen using this method, as it will release too much water.
Want More Recipes?
Browse our full collection of recipes with detailed instructions, tips, and Chef Betty's expert guidance.