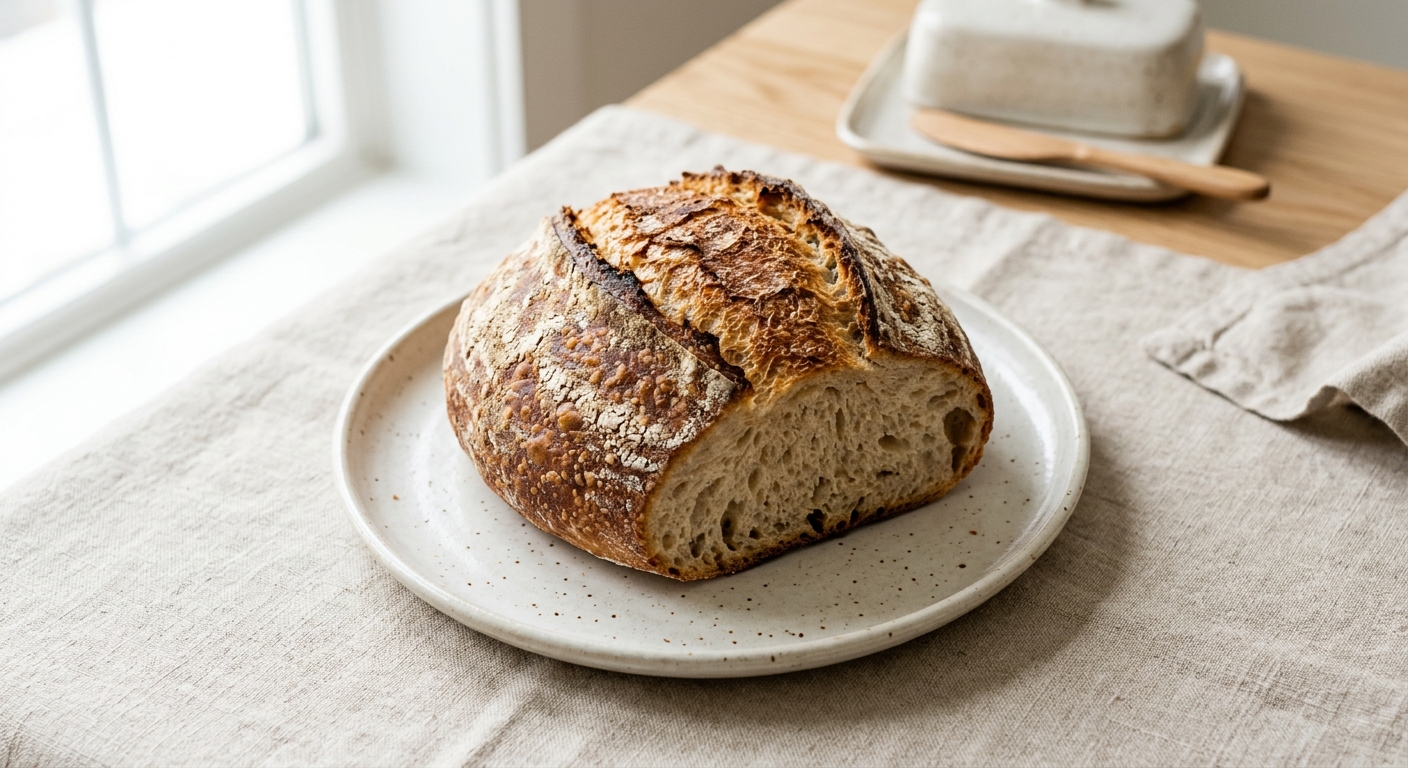
Before you cook
Background Recipe story & origin
The story of no-knead bread as we know it today begins in a small New York City bakery. Jim Lahey, founder of Sullivan Street Bakery in Manhattan, spent years experimenting with a method that would produce artisan-quality, open-crumbed bread without the labor-intensive kneading that had long been considered essential. His breakthrough was deceptively simple: use a very wet dough, a tiny amount of yeast, and let time do the work that hands normally would. A long, slow fermentation of 12 to 18 hours develops the gluten structure naturally, while baking the loaf inside a preheated Dutch oven traps steam and mimics the professional deck ovens used in artisan bakeries.nnThe technique went from bakery secret to cultural phenomenon on November 8, 2006, when food writer Mark Bittman featured Lahey's method in a New York Times column. The article caused a sensation in the food world, spreading rapidly across early food blogs and home baking communities. For the first time, everyday home cooks could produce a rustic, crackling-crusted loaf with a chewy, hole-filled interior that looked like it came from a high-end European bakery — with almost no skill required.nnOf course, the broader history of no-knead bread stretches back much further. Flatbreads and simple hearth loaves made without extensive kneading have existed across cultures for millennia, and the concept of long fermentation is as old as baking itself. But Lahey and Bittman's collaboration crystallized the technique for a modern audience and ignited a home baking renaissance that laid the groundwork for the sourdough explosion of the following decade. Today, no-knead bread remains one of the most popular and accessible recipes on the internet, a gateway loaf for millions of first-time bread bakers.
Safety Safety & allergen notes
- Dutch oven and lid are extremely hot at 450°F - always use oven mitts when removing from oven to prevent severe burns
- Steam will release when removing the Dutch oven lid after baking - keep face and hands away to avoid steam burns
- Bread interior reaches 210°F and remains very hot - use a bread knife carefully and allow full cooling before slicing to prevent burns
- Ensure oven mitts are dry before handling hot Dutch oven - wet mitts conduct heat and cause burns
Non-negotiables Rules for success
-
Use room temperature water and let dough rest 12-18 hours at room temperature
Cold water slows fermentation and prevents proper gluten development; insufficient time prevents yeast from creating the open crumb structure and complex flavor that defines no-knead bread
-
Preheat Dutch oven for at least 30 minutes at 450°F
A properly heated Dutch oven creates steam that keeps the bread's surface moist during initial baking, allowing maximum oven spring and crispy crust formation
-
Keep Dutch oven covered for first 30 minutes of baking
The lid traps steam around the dough, preventing premature crust formation and allowing the bread to expand fully before the crust sets
-
Shape dough gently without deflating it excessively
Over-handling releases gas bubbles and collapses the fermentation structure, resulting in dense bread instead of the desired open, airy crumb
-
Cool bread completely on a wire rack for at least 1 hour before slicing
Slicing warm bread compresses the crumb structure and causes the interior to become gummy; cooling allows the crumb to set and firm up
Prep Get set first
About 8 min of prep
- Measure flour, salt, and instant yeast
- Have room temperature water ready
- Prepare large mixing bowl
- Gather plastic wrap for covering
- Position Dutch oven (4-6 quart) in oven
- Set up wire cooling rack
- Clear counter space for lightly floured surface
Active prep is only 10 minutes, but the recipe requires 12-18 hours of resting plus 45-50 minutes of baking and cooling time.
Ingredients
Instructions
Unlock Grouped Step Actions
Plus members get tap-to-check action steps and live ingredient swaps for this recipe.
-
Mix dry ingredients
Mix the all-purpose flour, salt, and instant yeast together in a large bowl.
-
Form shaggy dough
Add the room temperature water to the dry ingredients and stir until a shaggy dough forms; the mixture should be sticky and rough.
-
First rise (autolyse)
Cover the bowl with plastic wrap and let it rest at room temperature for 12 to 18 hours until the dough becomes bubbly and rises slightly.
-
Preheat oven and Dutch oven
Preheat your oven to 450°F (230°C) and place a Dutch oven inside for at least 30 minutes to heat thoroughly.
-
Shape the dough
Turn the dough out onto a lightly floured surface and gently shape it into a round ball without deflating it too much.
-
Transfer dough to Dutch oven
Carefully remove the hot Dutch oven from the oven and place the dough inside.
-
Bake covered
Cover the Dutch oven with its lid and bake for 30 minutes.
-
Bake uncovered until golden
Remove the lid and bake for an additional 15 to 20 minutes until the bread is deeply golden brown.
-
Cool the bread
Remove the bread from the Dutch oven and let it cool on a wire rack for at least 1 hour before slicing.
Chef's notes
Store cooled bread in a paper bag or bread box at room temperature for up to 3 days
For best texture, serve fresh or reheat in a 350°F oven for 10 minutes to restore crispness
Dough can be refrigerated after initial rise for up to 2 days; shape and bake when ready
For a more complex flavor, refrigerate dough for 12-24 hours before shaping