Before you cook
Background Recipe story & origin
Chili's origins trace back to Spanish conquistadors and settlers who arrived in Mexico and the American Southwest in the 16th century, bringing with them Old World stewing techniques and dried peppers native to the region. However, the chili we recognize today—a thick, spiced meat and bean stew—developed distinctly in Texas during the late 1800s. San Antonio is often credited as chili's birthplace, where it was sold by street vendors called "chili queens" from small carts and stands in the city's plazas, particularly around the Alamo. These early vendors combined cubed beef, chiles, garlic, and cumin into an affordable, hearty meal for working-class residents and travelers. By the 1880s, chili had become so beloved that it earned the nickname "a bowl of red" and was considered quintessentially Texan. The addition of beans became common in the early 20th century, though purists debated whether beans belonged in "authentic" chili. The modern Instant Pot version represents chili's latest evolution—honoring traditional flavors while embracing convenience cooking technology. What began as a humble street food has transformed into an American classic, beloved nationwide with countless regional variations. The combination of beef, kidney beans, and warming spices remains fundamentally unchanged from those 19th-century San Antonio recipes, proving that great comfort food transcends time and cooking methods.
Before you start Equipment you'll need
- Instant Pot (6-quart) — Pressure cooking tenderizes meat and melds flavors in a fraction of stovetop time while building fond for depth.
- Wooden spoon or silicone spatula — Scrapes fond from pot bottom during sauté and stirs chili to prevent sticking.
- Measuring cups and spoons — Ensures accurate proportions for spice balance and liquid ratio.
- Can opener — Opens canned beans and tomatoes quickly.
Safety Safety & allergen notes
- Ground beef must reach 160°F internal temperature - use a meat thermometer to verify doneness before proceeding
- Instant Pot sauté mode creates hot surfaces - use pot holders when handling the inner pot and always keep the lid off during sauté
- Steam and hot liquid will release when quick-releasing pressure - point the steam vent away from your face and hands, and use tongs or a wooden spoon to carefully turn the valve
- The Instant Pot lid, rim, and sealing ring remain extremely hot after cooking - wait at least 5 minutes before touching and always use pot holders
Non-negotiables Rules for success
-
Toast spices in oil for 1 minute after browning beef
Toasting blooms the spices and releases their essential oils, intensifying flavor. Skipping this step results in flat, muted chili flavor
-
Scrape the pot bottom thoroughly when deglazing with broth
Fond contains concentrated browned meat and spice flavors. Releasing it adds depth and richness; skipping this creates thin, one-dimensional chili
-
Rinse canned kidney beans before adding
Canned bean liquid is starchy and creates a gummy, cloudy texture. Rinsing keeps the chili broth clear and prevents a pasty mouthfeel
-
Allow 10 minutes natural pressure release before quick-releasing
Natural release lets internal pressure drop gradually, preventing violent liquid eruption and keeping solids in the pot. Immediate venting splatters chili and can damage the seal
-
Taste and adjust seasoning after cooking
Pressure cooking concentrates flavors unpredictably. Tasting allows you to balance salt, spice, and acidity properly instead of serving under- or over-seasoned chili
Prep Get set first
About 8 min of prep
- Gather all ingredients and measure out spices (chili powder, cumin, paprika, salt, pepper)
- Dice yellow onion and mince garlic
- Open cans of kidney beans (drain and rinse), diced tomatoes, and tomato paste
- Have wooden spoon or silicone spatula ready
- Ensure Instant Pot is clean and lid is accessible
Total cook time is about 40 minutes (9 min sauté + 10 min pressure + 10 min release + 5 min finish), but most is hands-off once pressure cooking begins.
Ingredients
Instructions
Unlock Grouped Step Actions
Plus members get tap-to-check action steps and live ingredient swaps for this recipe.
-
Brown the beef and aromatics
Set Instant Pot to sauté mode and heat until shimmering. Add ground beef and cook, breaking it apart with a wooden spoon, until no pink remains. Stir in diced onion and minced garlic, cooking until softened and fragrant. Sprinkle chili powder, cumin, and paprika over the beef and stir to coat, toasting spices for 1 minute.
-
Deglaze and add liquids and beans
Pour beef broth into the pot, scraping the bottom with a wooden spoon to release fond. Add diced tomatoes with juice, tomato paste, and kidney beans, stirring to combine. Season with salt, black pepper, and Worcestershire sauce.
-
Pressure cook the chili
Cancel sauté mode, lock the lid, and set to high pressure for 10 minutes.
-
Release pressure and finish
Allow natural pressure release for 10 minutes, then carefully quick-release remaining pressure. Stir the chili and taste, adjusting seasoning with additional salt, pepper, or chili powder as needed. Serve hot in bowls with desired toppings.
Chef's notes
Do not skip the sauté phase—browning ground beef builds fond that deepens the chili's savory character.
If using dried kidney beans, soak overnight and cook separately until nearly tender before adding to chili.
For a thicker chili, use the sauté function after pressure cooking to reduce liquid by 5–10 minutes.
Chili freezes well for up to 3 months; cool completely before transferring to freezer containers.
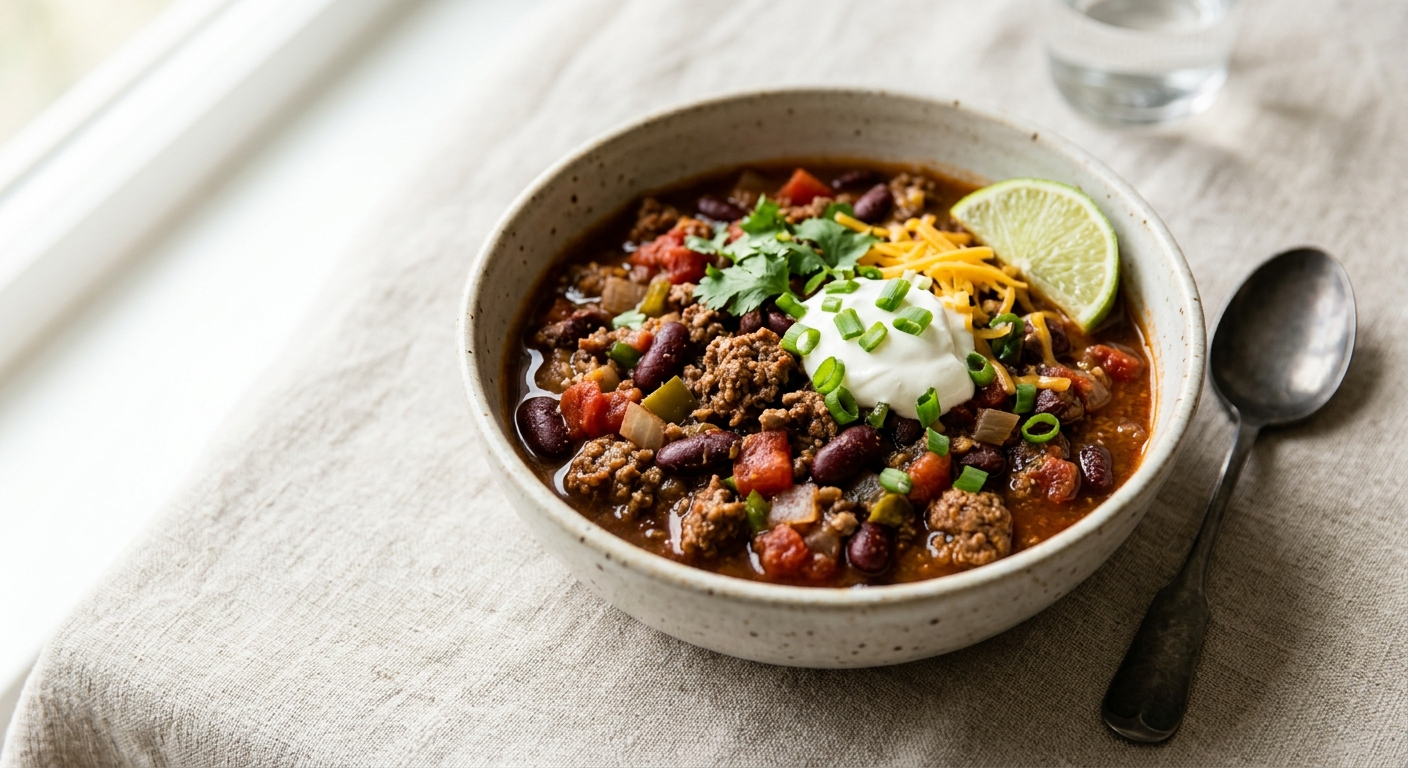
Toppings (sour cream, shredded cheese, diced onion, jalapeño) are optional but traditional.
The chili will thicken slightly as it cools; adjust consistency with beef broth if reheating.