Before you cook
Background Recipe story & origin
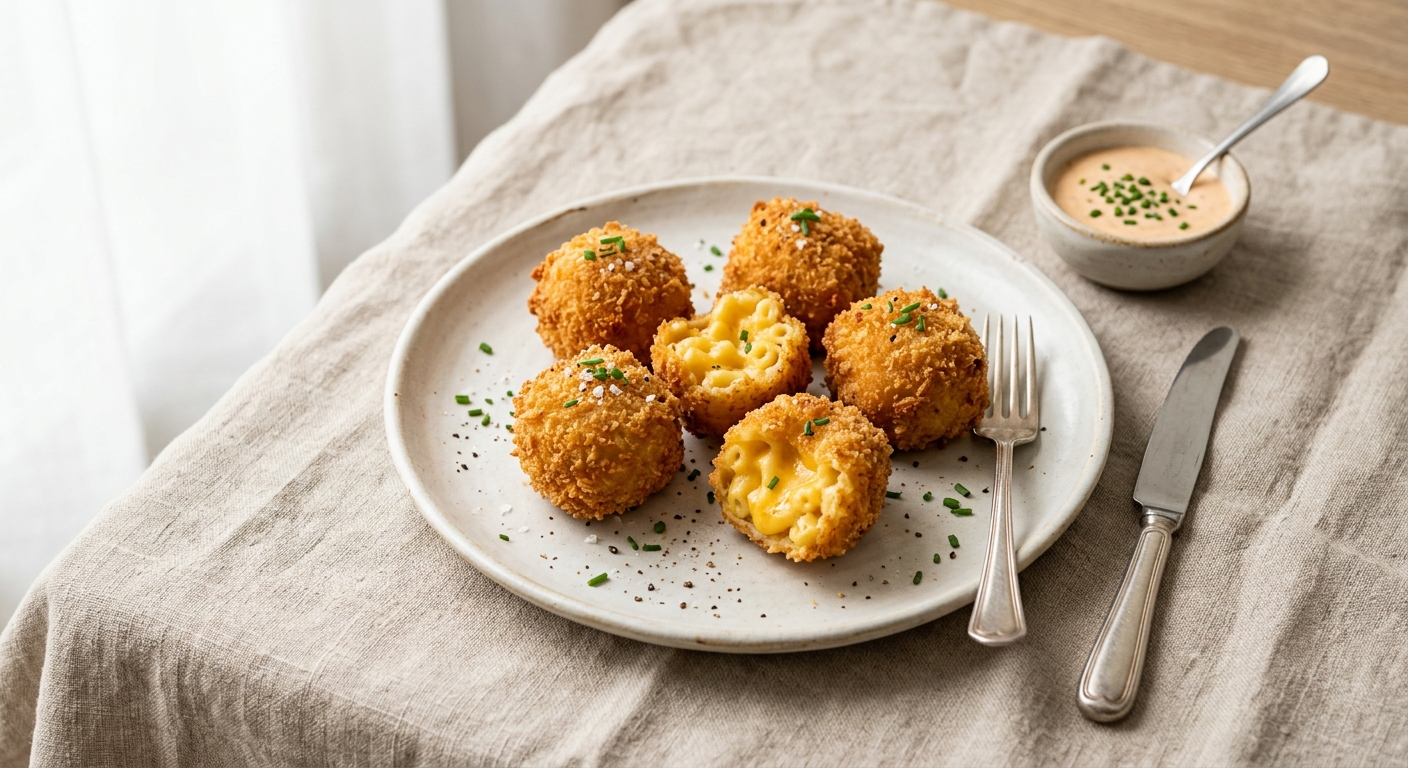
Fried macaroni and cheese balls emerged during the 1980s and 1990s as part of America's broader embrace of fried appetizers and comfort food innovation. While macaroni and cheese itself dates back to 18th-century European cuisine and became an American staple through boxed versions like Kraft (introduced in 1937), the concept of breading and deep-frying mac and cheese into bite-sized balls was a distinctly modern creation. The dish gained popularity in Southern and casual dining restaurants during the 1990s, where creative chefs sought to reinvent classic comfort foods as shareable appetizers. The combination was irresistible: creamy, cheesy pasta encased in a golden, crispy exterior, delivering indulgent comfort in every bite. What made fried mac and cheese balls particularly appealing was their versatility—they could be served as bar food, party appetizers, or casual restaurant fare, and home cooks could easily replicate them using leftover mac and cheese or prepared versions. The rise of food trucks and gastropubs in the 2000s further popularized the dish, with creative variations featuring different cheeses, seasonings, and dipping sauces. Today, fried mac and cheese balls remain a beloved comfort food hybrid, representing the American culinary tradition of taking beloved classics and reinventing them in increasingly indulgent forms. They've become a fixture at state fairs, sports bars, and casual restaurants nationwide, proving that sometimes the best food innovations come from asking a simple question: what if we fried that?
Before you start Equipment you'll need
- Large pot — Boil pasta and prepare the mac and cheese base
- Colander — Drain cooked pasta thoroughly to prevent excess moisture
- 9×13-inch baking dish — Bake the mac and cheese mixture before chilling and forming
- Whisk — Blend cheese sauce smoothly without lumps
- Shallow bowls or plates — Hold breadcrumb mixture and beaten eggs for breading station
- Deep-fry thermometer — Monitor oil temperature precisely for even cooking and safety
- Heavy-bottomed pot or Dutch oven — Hold oil at consistent temperature during deep-frying
- Slotted spoon or spider strainer — Remove fried balls from hot oil safely and drain excess oil
- Paper towels — Absorb excess oil from fried balls immediately after cooking
- Ice cream scoop or melon baller — Form uniform-sized balls quickly and consistently
Safety Safety & allergen notes
- Hot boiling water and pasta can cause severe burns - keep hands and face away from pot when draining, use pot holders, and pour away from your body
- Cheese sauce reaches high temperatures (325-375°F) - use pot holders when handling the pot and whisk, stir carefully to avoid splashing hot milk mixture
- Deep frying oil at 350°F causes severe burns - never leave hot oil unattended, use long-handled slotted spoon to lower balls away from your body, and keep children away from the cooking area
- Wet hands or water near hot oil can cause dangerous splattering - ensure breaded balls are dry before adding to oil and keep liquids away from the fryer
Non-negotiables Rules for success
-
Cook pasta to al dente, not soft
Overcooked pasta becomes mushy when baked and fried, resulting in a soggy interior instead of a firm, cohesive ball
-
Stir roux constantly while cooking for 2 minutes
Constant stirring prevents flour from burning and ensures even cooking, which eliminates raw flour taste and creates smooth sauce
-
Add milk gradually while whisking continuously
Gradual addition and whisking prevents lumps from forming; adding too quickly creates clumps that won't dissolve
-
Remove cheese sauce from heat before adding cheese
High heat causes cheese to separate and become greasy; off-heat allows cheese to melt smoothly into creamy sauce
-
Refrigerate mixture for at least 2 hours until completely firm
Warm or soft mixture cannot be formed into tight balls and will fall apart during breading and frying; firm texture holds together
-
Maintain oil temperature at exactly 350°F
Oil below 350°F causes greasy, soggy balls; oil above 350°F burns exterior before interior heats through
-
Do not overcrowd the pot when frying
Overcrowding drops oil temperature, preventing proper browning and causing oil absorption instead of crispy exterior
Prep Get set first
About 8 min of prep
- Shred sharp cheddar and gruyere cheese
- Measure out all ingredients (pasta, butter, flour, milk, spices)
- Set up large pot, colander, and whisk
- Prepare 9×13-inch baking dish
- Have shallow bowls ready for breading station
- Gather eggs, panko breadcrumbs, and seasonings
- Set out heavy-bottomed pot or Dutch oven for frying
- Have deep-fry thermometer, slotted spoon, and paper towels accessible
This recipe requires 2+ hours of chilling time after baking, so plan ahead; active cooking time is about 30 minutes spread across multiple steps.
Ingredients
Instructions
Unlock Grouped Step Actions
Plus members get tap-to-check action steps and live ingredient swaps for this recipe.
0/16 actions complete
Start checking off actions as you prep
-
Make the mac and cheese base: Cook pasta and prepare cheese sauce
Large pot, Colander, Whisk
-
Bake and chill the mixture
9×13-inch baking dish
-
Prepare breading station
Whisk
-
Form and bread the balls
-
Deep-fry the balls
Heavy-bottomed pot or Dutch oven
Chef's notes
Chill the baked mac and cheese for at least 2 hours (or overnight) before forming balls; cold mixture holds together better when fried.
Oil temperature is critical: too cool and balls absorb oil and become greasy; too hot and exterior burns before cheese melts. Maintain 350°F throughout frying.
Bread the balls immediately before frying; wet coating prevents them from sliding apart in hot oil.
For extra-crispy coating, double-bread: dip in egg, roll in breadcrumbs, dip in egg again, roll in breadcrumbs a second time.
Freeze formed but unfried balls on a parchment-lined tray for up to 3 weeks; fry from frozen, adding 1–2 minutes to cook time.
Serve with marinara sauce, ranch dressing, or spicy mayo for dipping.
Do not skip the resting step after baking; the mixture must cool and set completely to hold its shape.