Before you cook
Background Recipe story & origin
The story of the dinner roll is inseparable from the history of bread itself, stretching back thousands of years across Europe and the Middle East. Individual bread rolls — smaller, portioned versions of larger loaves — became common in medieval European bakeries, where bakers discovered that smaller portions baked more evenly and could be distributed easily at communal meals. The enriched versions we recognize today, made soft and golden with butter, eggs, and milk, were luxury items in the 14th and 15th centuries, appearing on the tables of nobility and at church feasts while common people made do with coarser, denser loaves.nnBy the 18th and 19th centuries, as dairy and wheat became more affordable across Europe and the American colonies, soft enriched rolls began appearing in everyday households. American cookbooks from the 1800s feature numerous roll recipes, and the tradition of serving soft rolls alongside Sunday dinners and holiday meals became deeply embedded in American domestic culture. The Parker House Roll, developed at Boston's Parker House Hotel around 1870, became one of the most iconic American roll styles — folded, buttery, and impossibly soft — cementing the dinner roll's place on the formal table.nnThroughout the 20th century, commercial bakeries and the rise of packaged bread made rolls widely accessible, but homemade dinner rolls never lost their appeal. The act of baking a batch from scratch — watching the dough rise, pulling golden rolls from the oven — carries a warmth and hospitality that store-bought versions simply can't replicate. Today, dinner rolls remain a beloved staple across cultures, appearing at everything from Thanksgiving feasts to weeknight family dinners, their soft, pillowy texture and buttery flavor as comforting as ever.
Safety Safety & allergen notes
- Warm milk should be 110°F or cooler to avoid killing yeast - test temperature on your wrist before adding
- Melted butter can cause severe burns - allow it to cool slightly before mixing into yeast mixture, and keep away from children
- Oven racks and baking pan will be extremely hot - use oven mitts when placing pan in oven and removing it after baking
- Steam from rising dough can cause burns - lift towels away from your face when checking dough progress
Non-negotiables Rules for success
-
Bloom yeast in warm milk for exactly 5 minutes until foamy
Foaming indicates yeast is alive and active; skipping or rushing this step results in dough that won't rise properly
-
Knead dough for 8-10 minutes until smooth and elastic
Kneading develops gluten structure which traps gas bubbles; insufficient kneading produces dense, heavy rolls instead of light and airy ones
-
Let dough rise in a warm place until doubled in size
Warm temperature activates yeast fermentation; cold or room temperature causes slow or incomplete rising, resulting in dense rolls
-
Leave small space between rolls when panning
Spacing allows rolls to rise and bake individually; crowding causes them to bake together and prevents proper browning and separation
-
Brush with melted butter immediately after baking while rolls are still warm
Heat helps butter absorb into the bread; applying when cool results in butter sitting on surface instead of enriching the crumb
Prep Get set first
About 8 min of prep
- Warm 1 cup milk to 110°F
- Measure out yeast, sugar, butter, salt, and flour
- Crack egg into small bowl
- Prepare large mixing bowl
- Have measuring cups and spoons ready
- Set up lightly floured work surface
- Grease 9x13-inch baking pan
- Have damp kitchen towel available
This recipe requires 2+ hours total time including two rise periods, with about 20 minutes of active hands-on work spread throughout.
Ingredients
Instructions
Unlock Grouped Step Actions
Plus members get tap-to-check action steps and live ingredient swaps for this recipe.
-
Bloom the yeast
In a large mixing bowl, combine the warm whole milk, active dry yeast, and granulated sugar and let sit for 5 minutes until foamy.
-
Mix in wet ingredients
Add the melted unsalted butter, salt, and egg to the yeast mixture and stir well to combine.
-
Add flour and form dough
Gradually add the all-purpose flour, one cup at a time, stirring until a soft dough forms.
-
Knead the dough
Knead the dough on a lightly floured surface for 8-10 minutes until smooth and elastic.
-
First rise
Place the dough in a greased bowl, cover with a damp towel, and let rise in a warm place for 1 hour until doubled in size.
-
Divide the dough
Punch down the dough and divide it into 12 equal pieces.
-
Shape and pan the rolls
Shape each piece into a ball and place them in a greased 9x13-inch baking pan, leaving a small space between each roll.
-
Second rise
Cover the pan with a damp towel and let the rolls rise for another 45 minutes until puffy.
-
Preheat oven
Preheat the oven to 375°F.
-
Bake the rolls
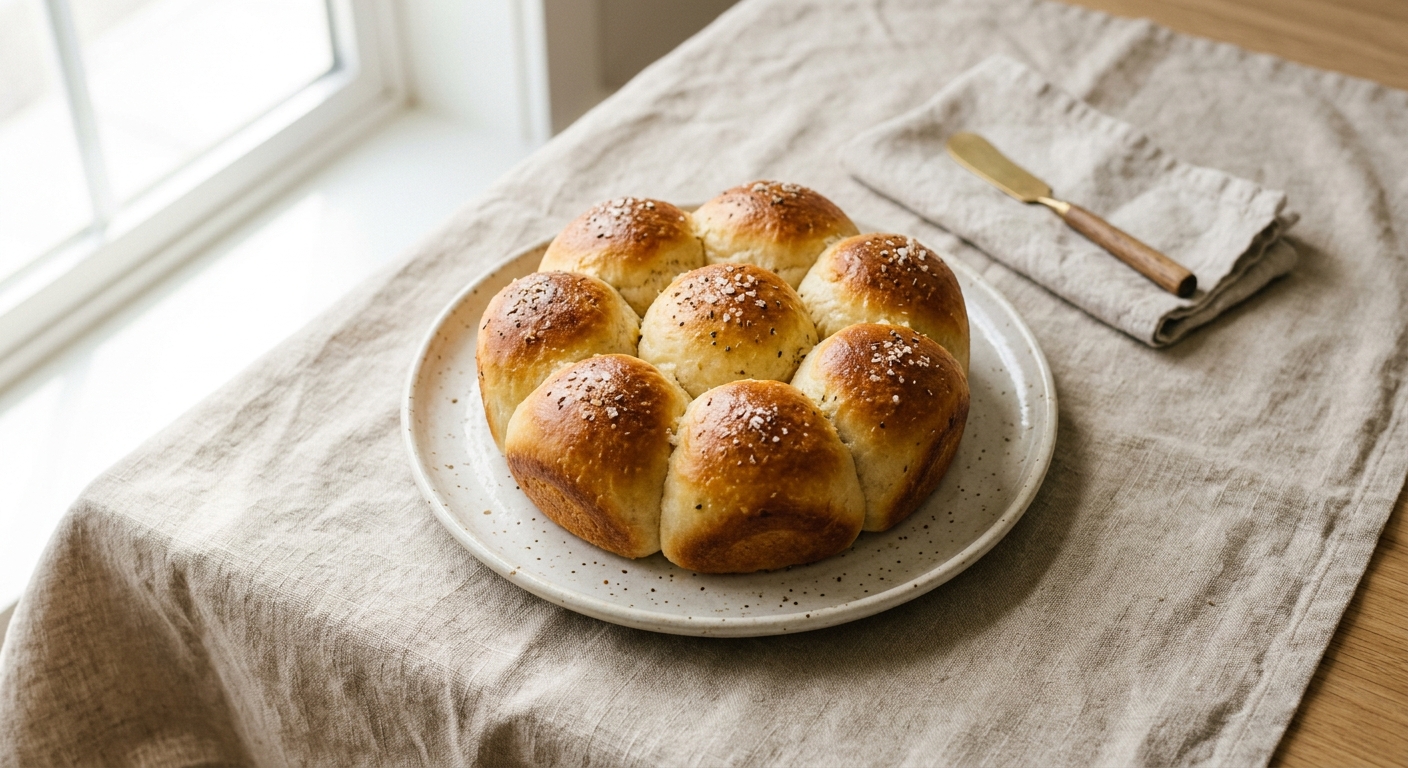
Bake the rolls for 20-25 minutes until golden brown on top.
-
Finish with butter
Remove from the oven and brush the tops with melted unsalted butter while still warm.
Chef's notes
Store cooled rolls in an airtight container at room temperature for up to 2 days before serving
For overnight rolls, prepare through step 7, refrigerate overnight, then let come to room temperature before baking
Serve warm with butter, jam, or honey for best flavor
Tomorrow's Meal
Savory Bread Pudding or Panzanella Salad
Day-old rolls transform into either a rich savory bread pudding with cheese and herbs, or a rustic Italian-style salad with tomatoes, basil, and olive oil
You'll need to pick up:
Quick overview:
- Cube stale rolls into 1-inch pieces
- For bread pudding: whisk eggs with milk, pour over rolls with cheese and herbs, bake at 350°F for 30-35 minutes until set
- For panzanella: toss cubed rolls with fresh tomatoes, basil, olive oil, and vinegar, let sit 15 minutes for flavors to meld