Before you cook
Background Recipe story & origin
Creamy Salsa Verde Chicken Chili represents a distinctly modern evolution of American chili, emerging in the 1970s and 1980s as regional Southwestern cuisine gained popularity across the United States. While traditional Texas red chili and Cincinnati-style chili had dominated American kitchens since the late 1800s, a new generation of cooks began reimagining the dish through the lens of Mexican culinary traditions, particularly the bright, herbaceous flavors of salsa verde. The shift toward chicken and cream reflected broader dietary trends of the era—moving away from heavy beef-based stews toward lighter, more health-conscious options while maintaining the comfort-food appeal of chili. The addition of sour cream or Mexican crema created a luxurious texture that distinguished this version from its predecessors, while salsa verde (made from tomatillos, cilantro, and green chiles) replaced the tomato-based sauces of traditional chilis. This recipe gained significant traction in Arizona, New Mexico, and Southern California, where Mexican and American culinary traditions naturally intersected. By the 1990s and 2000s, creamy salsa verde chicken chili had become a fixture in Southwestern restaurants and home kitchens, appearing regularly in cooking magazines and recipe collections. Today, it represents a bridge between authentic Mexican cuisine and American comfort food—accessible enough for weeknight dinners yet sophisticated in its flavor profile, embodying the modern American approach to fusion cooking that respects both traditions while creating something entirely new.
Before you start Equipment you'll need
- Large heavy-bottomed pot or Dutch oven — Distributes heat evenly to prevent scorching the cream and beans; holds volume for simmering without boiling over.
- Wooden spoon or silicone spatula — Stirs without scratching the pot and allows you to scrape up browned bits from the bottom.
- Measuring cups and spoons — Ensures accurate proportions for cream, salsa, and broth so the chili reaches the correct consistency and flavor balance.
- Can opener — Opens canned beans and broth quickly; optional if using pre-opened cans or cartons.
Safety Safety & allergen notes
- Hot oil and pot surfaces can cause severe burns - use pot holders when handling the pot and keep hands away from steam when stirring
- When scraping browned bits from the pot bottom in step 2, keep your hand clear of the pot edge to avoid steam burns
- Add heavy cream slowly to the simmering chili to prevent splashing of hot liquid - stir constantly and keep your face away from the pot
- The chili remains very hot during serving - use a ladle with a long handle and warn diners that bowls will be hot for several minutes
Non-negotiables Rules for success
-
Use medium heat when sautéing aromatics and stir occasionally
Medium heat allows onions and garlic to soften and release flavor compounds without browning or burning, which would create bitter notes
-
Scrape browned bits from pot bottom when adding liquid
These fond particles contain concentrated flavors that dissolve into the liquid and deepen the overall chili flavor
-
Drain and rinse canned beans before adding
Removes excess starch and sodium that would make the chili cloudy and overly salty
-
Add heavy cream slowly while maintaining gentle simmer
High heat or rapid addition causes dairy proteins to curdle and separate, creating a broken, grainy texture
-
Simmer uncovered for 10 minutes
Uncovered simmering allows excess moisture to evaporate, concentrating flavors and achieving proper chili consistency
Prep Get set first
About 8 min of prep
- Gather large heavy-bottomed pot or Dutch oven
- Have wooden spoon or silicone spatula ready
- Dice onion and mince garlic
- Measure out olive oil, salsa verde, chicken broth, and heavy cream
- Open cans/cartons of beans and broth if needed
- Remove skin and cartilage from rotisserie chicken and shred
- Drain and rinse cannellini beans
- Measure ground cumin and have salt nearby for tasting
This is a straightforward 27-minute chili with mostly hands-off simmering time—prep work is quick, but have your rotisserie chicken shredded and beans drained before you start cooking.
Ingredients
Instructions
Unlock Grouped Step Actions
Plus members get tap-to-check action steps and live ingredient swaps for this recipe.
-
Sauté aromatics
Heat olive oil in a large heavy-bottomed pot over medium heat. Add diced onion and minced garlic, stirring occasionally until softened and fragrant.
-
Build the chili base
Pour in store-bought salsa verde and chicken broth, scraping any browned bits from the pot bottom. Stir in drained cannellini beans and shredded rotisserie chicken. Add ground cumin and salt to taste, stirring to combine.
-
Simmer the chili
Bring the chili to a gentle simmer, then reduce heat to low and simmer uncovered.
-
Finish with cream
Stir in heavy cream slowly, keeping the heat at a gentle simmer to prevent curdling. Taste and adjust seasoning with additional salt or a squeeze of lime juice if desired.
-
Serve
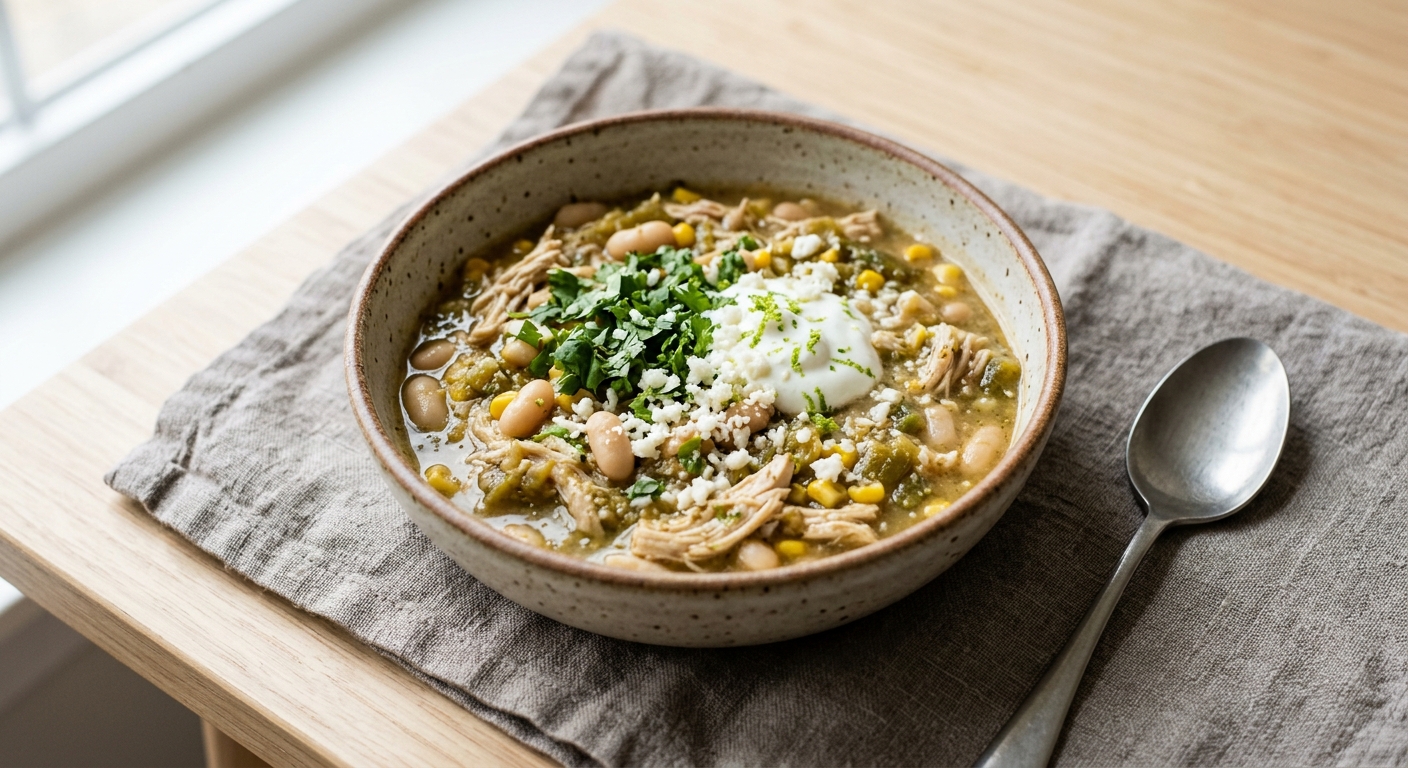
Ladle chili into bowls and top with crispy tortilla strips, sour cream, fresh cilantro, or shredded cheese as desired.
Chef's notes
Use a good-quality store-bought salsa verde (mild or medium heat) to control spice level; adjust by adding jalapeños or hot sauce at the end if desired.
Shredded rotisserie chicken from the grocery store deli saves prep time; pull off any skin or cartilage before adding.
Do not boil the cream after adding it; simmer gently to prevent curdling.
Chili thickens as it cools; if it becomes too thick when reheated, thin with additional chicken broth or water.
Top with crispy tortilla strips, diced avocado, sour cream, fresh cilantro, or shredded cheese for serving.
Make ahead: Cool completely and refrigerate up to 3 days; reheat gently on the stovetop over low heat, stirring occasionally.