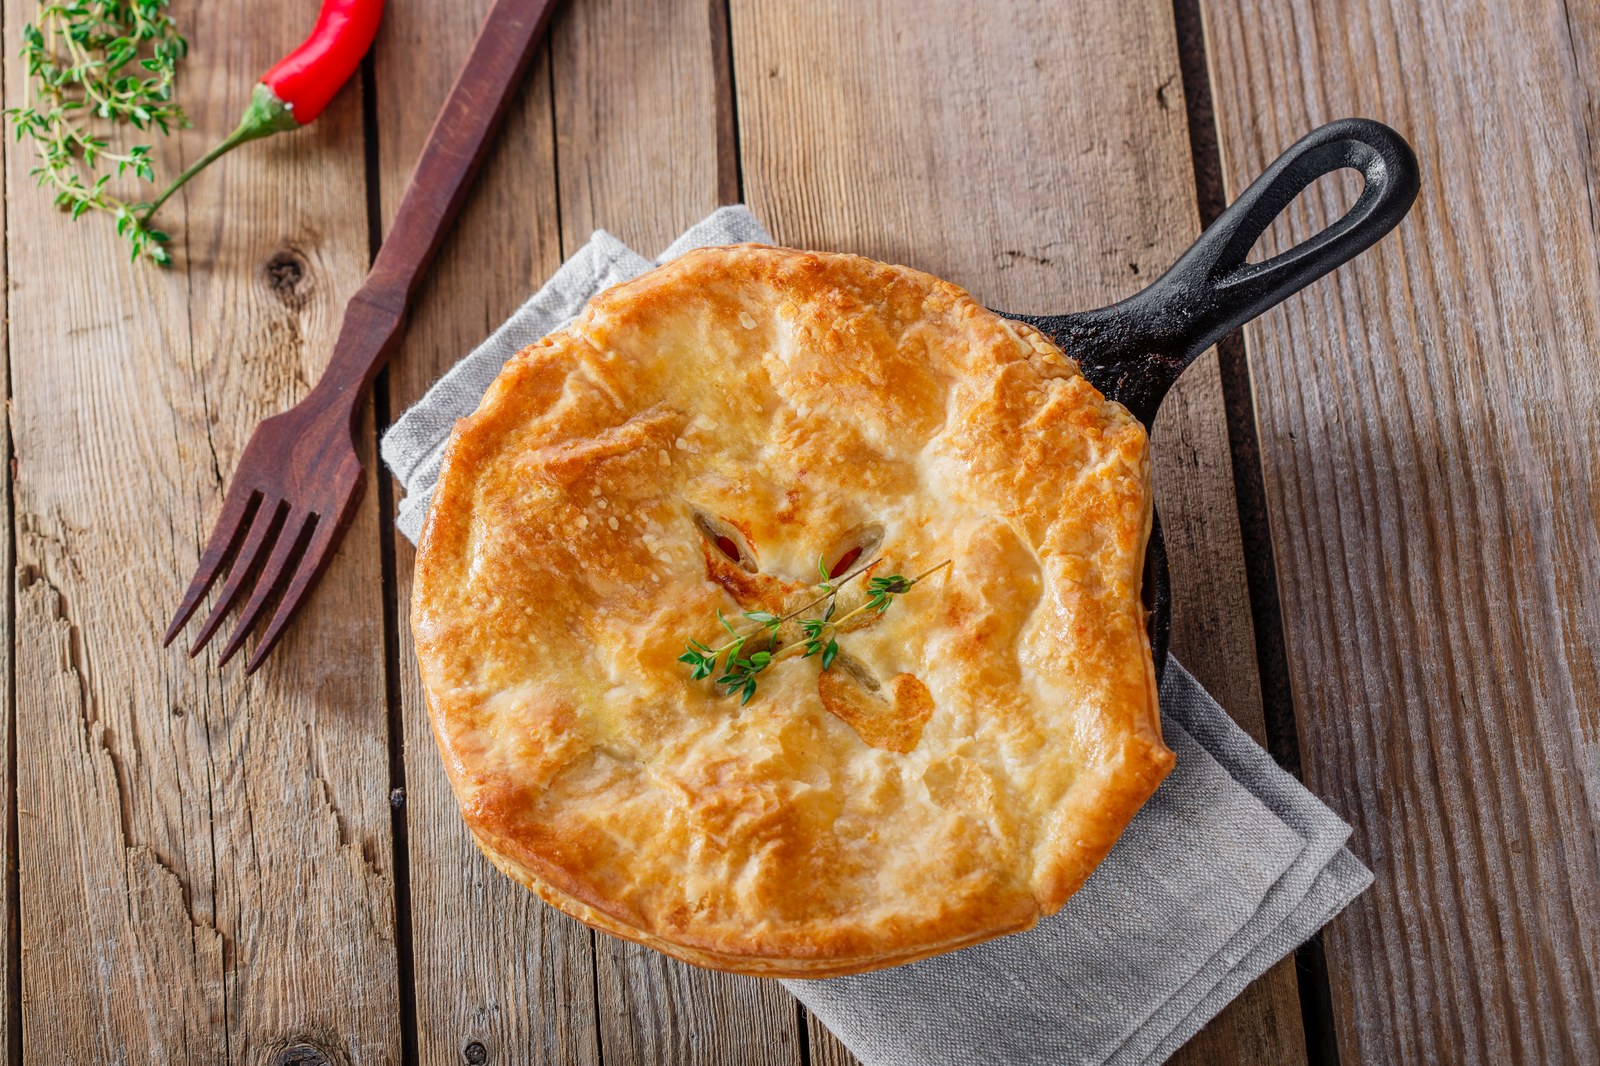
Before you cook
Background Recipe story & origin
Chicken pot pie traces its lineage to medieval Europe (1300s-1400s), where thick pastry shells called 'coffyns' served as preservation vessels rather than edible components, protecting meat from contamination during storage. By the 16th century in England, as ovens improved and wheat became more accessible, pastry transformed into something meant to be eaten, and savory pies filled with poultry and cream became markers of household prosperity. English settlers carried this tradition to colonial America in the 1600s-1700s, where abundant chickens and dairy made pot pies efficient one-dish meals for feeding large families. The 19th century Industrial Revolution (1820s-1870s) brought cast iron stoves and standardized ovens, allowing consistent baking and establishing the soft filling and flaky crust format. American home cooks began favoring a single top crust (instead of full double-crust pies) in the late 1800s to avoid sogginess and simplify assembly, a trend documented in cookbooks like 'The Boston Cooking-School Cook Book' (1896 by Fannie Farmer). By the 1950s, the top-crust-only pot pie became standard, appearing in cookbooks like 'Better Homes and Gardens New Cook Book' (1953) and commercial frozen versions like Swanson's (introduced 1951). This recipe follows that lineage: fully cooked filling, crisp top crust, and practical structure, the spoonable, casserole-adjacent version that became an American kitchen staple.
Before you start Equipment you'll need
- large skillet or Dutch oven — tight lid traps moisture for tender meat and goes straight from stovetop to oven
- 9 x 13 inch baking dish or deep pie dish — maintains consistent temperature for reliable baking every time
- rolling pin — rolls dough to even thickness so everything bakes at the same rate
- chef's knife — sharp blade makes precise cuts for even cooking and safer prep
- cutting board — stable surface protects your counters and keeps ingredients contained
- wooden spoon — won't scratch cookware and wooden handle stays cool during extended stirring
- baking sheet (for catching drips) — large flat area fits more food and promotes even cooking
- large mixing bowl — Required equipment: large mixing bowl
Safety Safety & allergen notes
- Hot filling can splatter when simmering; stir gently.
- Let the pie rest before serving to avoid steam burns.
- Place the baking dish on a sheet pan to prevent oven spills.
- Use oven mitts when handling hot ceramic or glass dishes.
Non-negotiables Rules for success
-
Use a top crust only to prevent a soggy bottom and keep the filling spoonable.
Bottom crust becomes soggy from filling moisture and makes the dish heavy and pasty
-
Cook the filling fully before baking since the oven is for crust, not thickening.
Undercooked filling stays watery and thin; oven heat won't thicken it properly
-
Let the filling cool slightly before topping to help the crust stay crisp.
Hot filling steams the crust from below and makes it soft and gummy
-
Vent the crust to allow steam to escape and prevent collapse.
Trapped steam causes crust to puff and collapse, creating uneven texture
-
Rest before serving to give the filling time to set slightly.
Cutting too early releases hot liquid that makes the dish soupy and messy
Prep Get set first
About 8 min of prep
- Gather all ingredients and measure them out
- Have large skillet or Dutch oven ready
- Prepare 9x13 inch baking dish or deep pie dish
- Get rolling pin and cutting board out
- Have wooden spoon and sharp knife ready
- Place baking sheet nearby for catching drips
This recipe needs about 30 minutes active cooking plus 35 minutes baking time, so plan for at least 75 minutes start to finish
Ingredients
Instructions
Unlock Grouped Step Actions
Plus members get tap-to-check action steps and live ingredient swaps for this recipe.
-
Make the pie crust
Whisk all-purpose flour and salt in a large bowl. Add cold butter, cubed and cut in using a pastry cutter or your fingers until mixture resembles coarse crumbs with some pea-sized pieces remaining. Drizzle ice water 1 tablespoon at a time, mixing with a fork until dough just comes together. Shape into a disk, wrap in plastic, and refrigerate at least 30 minutes. (Alternatively, use store-bought refrigerated pie crust.)
-
Sauté the aromatics
Melt butter with olive oil in a large skillet over medium heat (325-350°F surface). Add medium onion, diced and celery ribs, diced and cook 5 to 6 minutes until softened. Add garlic cloves, minced and cook 30 seconds until fragrant.
-
Make the roux and add liquids
Sprinkle all purpose flour over the vegetables and stir well. Cook 1 minute to remove raw flour taste. Slowly whisk in chicken stock, followed by whole milk or cream, stirring until smooth.
-
Finish the filling
Add cooked chicken or, shredded, frozen peas, salt, black pepper, and dried thyme. Simmer 5 to 8 minutes until thick and spoonable. Remove from heat and let cool slightly.
-
Transfer the filling
Transfer the filling to a 9 x 13 inch baking dish or deep pie dish. Spread evenly. Do not line the dish with crust. This is a top-crust-only pie. This allows proper resting and prevents overcooking.
-
Add the top crust
Roll out chilled pie crust on a floured surface to fit your baking dish. Lay it directly over the filling. Trim excess dough and crimp edges lightly. Cut several slits in the top to vent steam. Brush with egg, beaten (for egg wash).
-
Bake the pie
Place dish on a baking sheet. Bake at 400°F for 30 to 35 minutes until the crust is deeply golden and crisp.
-
Rest and serve
Let rest 10 minutes. Slice or spoon into bowls and serve hot.
Chef's notes
This is a family-style, top-crust-only pot pie.
The filling is meant to be spoonable, not slice-clean.
Carrots are intentionally excluded to keep the filling softer and less sweet.
Leftovers reheat best covered in the oven, not the microwave.
Homemade crust takes 10 minutes active time plus 30 minutes chilling. Store-bought works if you are short on time.
Tomorrow's Meal
Crispy Pot Pie Cakes with Hot Sauce
Cold pot pie filling scooped and formed into patties, coated in crushed crackers, then pan-fried until golden and crackling outside with creamy chicken filling inside
You'll need to pick up:
Quick overview:
- Scoop cold pot pie filling into 1/2 cup portions and form into thick patties
- Crush crackers into fine crumbs on a plate
- Press both sides of each patty firmly into crumbs to coat
- Heat 1/4 inch oil in skillet over medium-high heat to 350°F
- Fry patties 3-4 minutes per side until deep golden and crispy
- Drain on wire rack, serve hot with dipping sauce