Before you cook
Background Recipe story & origin
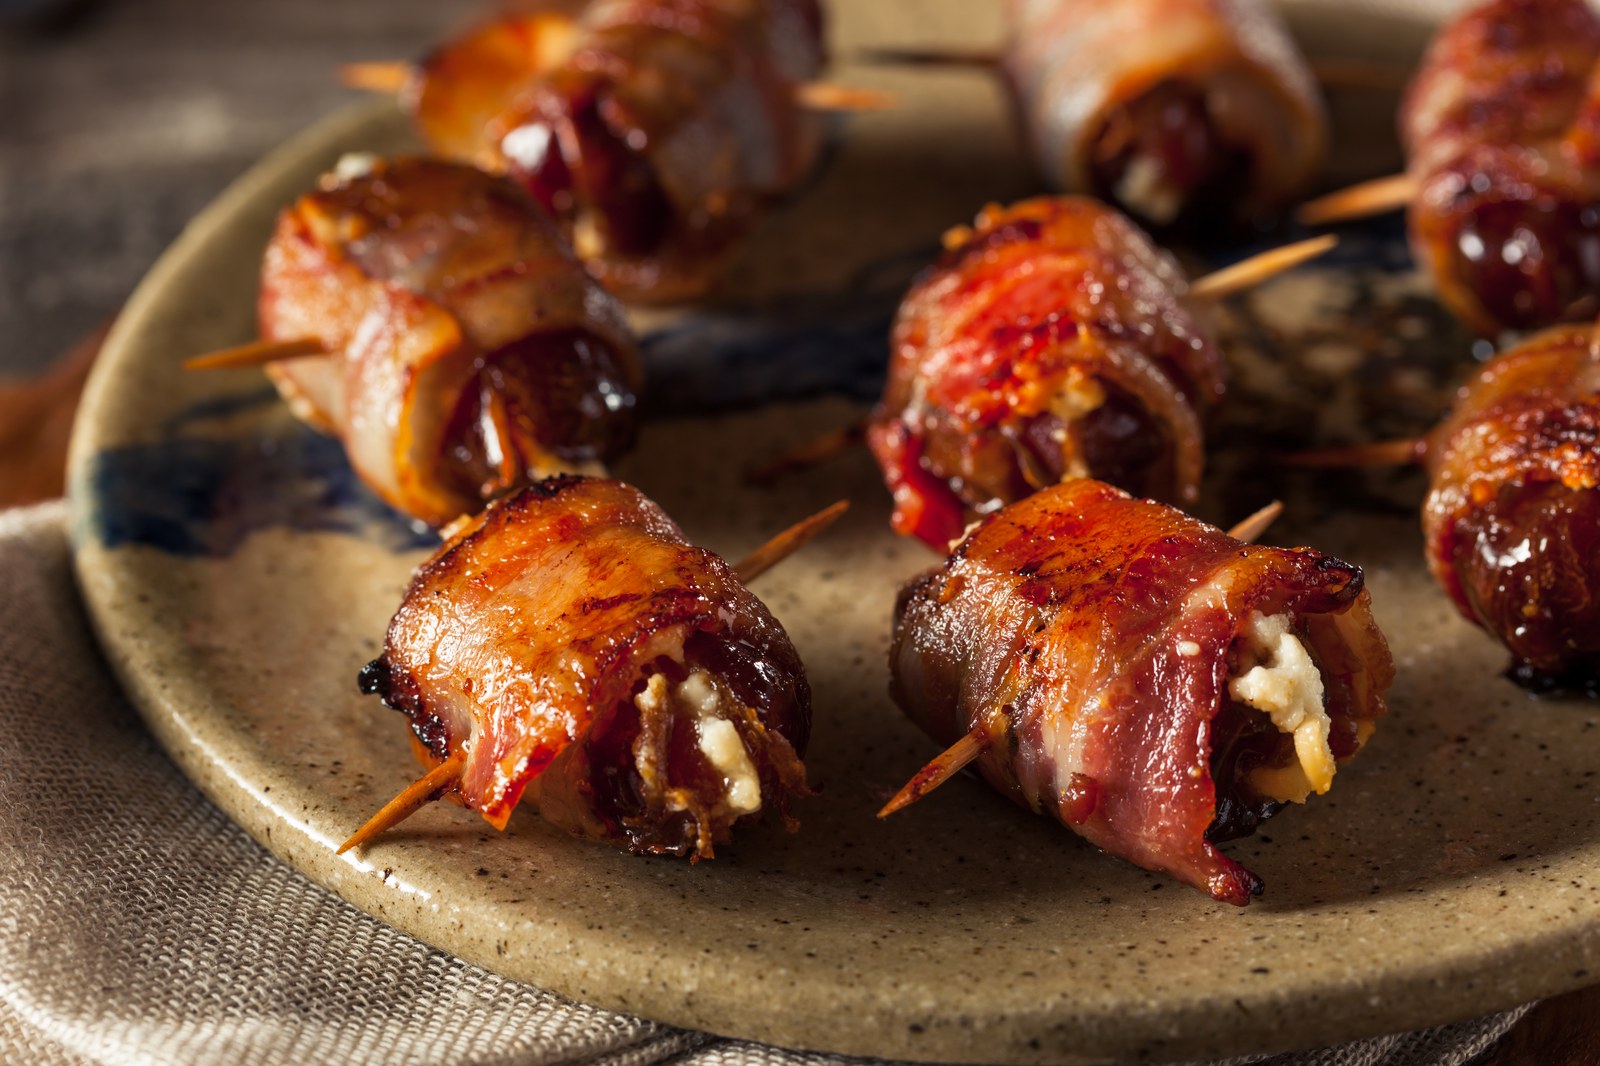
Bacon-wrapped dates are not ancient or traditional. They emerged in mid-20th-century American cocktail culture, particularly during the 1950s-1960s, when sweet-salty appetizers were popular at home parties. Dates were shelf-stable, bacon was inexpensive, and ovens allowed batch cooking. The pairing survived because fat softened sweetness and sweetness tempered salt, but only when bacon was fully rendered. Under-rendered bacon produces cloying, greasy bites - the balance check exists to prevent this.
Before you start Equipment you'll need
- rimmed baking sheet — catches rendered bacon fat safely during cooking
- wire rack — elevates dates so bacon fat renders and crisps instead of pooling
- paring knife — opens dates cleanly without tearing
- tongs — turns dates safely without piercing bacon
- infrared thermometer — verifies oven temperature before baking
Safety Safety & allergen notes
- Rendered bacon fat is extremely hot and can splatter when removing from oven. Use tongs and keep hands clear.
- Wooden toothpicks are safe for short oven baking when fully embedded in food and cooked below 425°F. They do not require soaking under these conditions.
- Do not use toothpicks under a broiler, on a grill, at temperatures above 425°F, or for cook times exceeding 25 minutes.
- Toothpicks will be hot after baking. Remove before serving or clearly warn guests.
- Do not overcrowd dates. Crowding traps steam and prevents bacon from crisping evenly.
Non-negotiables Rules for success
-
Use thin-cut bacon only.
Thick bacon will not render fully before dates soften excessively.
-
Do not add salt.
Bacon provides sufficient salinity to balance the dates.
-
Perform a mid-bake balance check.
Under-rendered bacon results in overly sweet, greasy bites.
-
Use toothpicks only for short, insulated oven cooking.
Embedded wood is shielded from direct heat, but exposed toothpicks can burn if cooking method or temperature is changed.
Prep Get set first
About 5 min of prep
- Have dates pitted and opened
- Have bacon halved and patted dry
- Have toothpicks ready
- Have wire rack on baking sheet
- Have oven preheating to 400°F
Total time is 35-40 minutes. The balance check at 15 minutes is the key technique.
Ingredients
Instructions
Unlock Grouped Step Actions
Plus members get tap-to-check action steps and live ingredient swaps for this recipe.
-
Prepare the dates
Slice each date lengthwise just enough to open the cavity. Remove pits if present. Do not cut through completely.
-
Prepare the bacon
Pat bacon dry with paper towels to improve rendering.
-
Wrap the dates
Wrap each date with one piece of bacon, overlapping slightly. Secure fully with a toothpick so wood is embedded in the date and bacon.
-
Season lightly
Sprinkle with black pepper only. Do not add salt - bacon provides sufficient salinity.
-
Preheat the oven
Heat oven to 400°F. Verify temperature with infrared thermometer if available.
-
Arrange for baking
Place dates on a wire rack set over a rimmed baking sheet. Do not crowd - leave space between each date.
-
Bake with turn
Bake 18 to 22 minutes total. Turn dates once halfway through using tongs.
-
Balance check (mandatory)
At 15 minutes, remove one date and cut in half. Confirm bacon is crisp, fat is rendered, and sweetness is not dominating the bite. Return to oven if needed.
-
Rest and serve
Rest 3 minutes before serving. Remove toothpicks or warn guests they are present.
Chef's notes
No filling in this version - pure sweet-salty balance.
The balance check is mandatory, not optional.
Pat bacon dry before wrapping for better rendering.
Wire rack is essential - pooled fat prevents crisping.