Before you cook
Background Recipe story & origin
The grilled cheese sandwich as Americans know it emerged in the 1920s when inexpensive sliced bread became widely available through Otto Frederick Rohwedder's bread slicing machine (1928). The combination of bread, butter, and cheese had existed for centuries, but mass production transformed it into an accessible everyday meal. During the Great Depression (1929-1939), grilled cheese became a budget-friendly staple—bread and cheese were cheap, and the sandwich was filling. The introduction of Kraft processed American cheese slices in 1949 further cemented the grilled cheese as an American icon, providing consistent melt and mild flavor that appealed to children and adults alike. By the 1950s, grilled cheese appeared on diner menus nationwide, often paired with tomato soup (a Campbell's marketing campaign popularized this combination). The sandwich's appeal lies in its simplicity: three ingredients, one pan, minimal technique. Modern variations use artisan breads and gourmet cheeses, but the classic version white bread, American cheese, butter remains a comfort food benchmark, evoking nostalgia for quick childhood lunches and late-night diner meals.
Before you start Equipment you'll need
- skillet — Even heat distribution creates consistent golden crust on both sides
- spatula — Flips sandwich without breaking and presses for even contact with pan
Safety Safety & allergen notes
- Hot skillet handle can cause burns. Use an oven mitt if the handle heats up during cooking.
- Melted cheese reaches very high temperatures and can cause serious burns if it drips or spills.
- Cast iron skillets retain heat longer than nonstick. Turn off heat promptly to avoid overcooking or burning.
Non-negotiables Rules for success
-
Use medium-low heat throughout cooking
High heat burns the bread surface before the cheese inside has time to melt, leaving you with charred toast and cold cheese in the center.
-
Butter all the way to the edges of each bread slice
Unbuttured corners don't brown and stay pale and soft while the rest of the sandwich crisps, creating uneven texture.
-
Start sandwich in a cold skillet before turning on heat
Gradual heating gives the cheese time to melt as the bread browns. A hot pan burns the bread in seconds before cheese warms.
-
Press gently with spatula after flipping
Full contact with the hot pan ensures even browning on the second side. Gaps create pale spots and uneven crust.
Prep Get set first
About 3 min of prep
- Soften butter to room temperature for easy spreading
- Have skillet and spatula ready
- Gather bread and cheese
- Clear workspace near stove for assembling sandwich
The cooking moves fast once you start. Have everything within arm's reach because you'll be at the stove the entire time watching for even browning.
Ingredients
Instructions
Unlock Grouped Step Actions
Plus members get tap-to-check action steps and live ingredient swaps for this recipe.
-
Butter bread slices
Butter one side of each bread slice generously, spreading all the way to the edges. This creates the golden crust and prevents dry corners.
-
Assemble sandwich
Place one bread slice butter-side down in cold skillet. Add 2 cheese slices on top, then cover with second bread slice butter-side up. Starting in a cold pan prevents burning.
-
Cook first side
Heat skillet over medium-low heat. Cook 3 minutes until bottom is golden brown. Watch for even browning and adjust heat if browning too fast.
-
Flip and finish
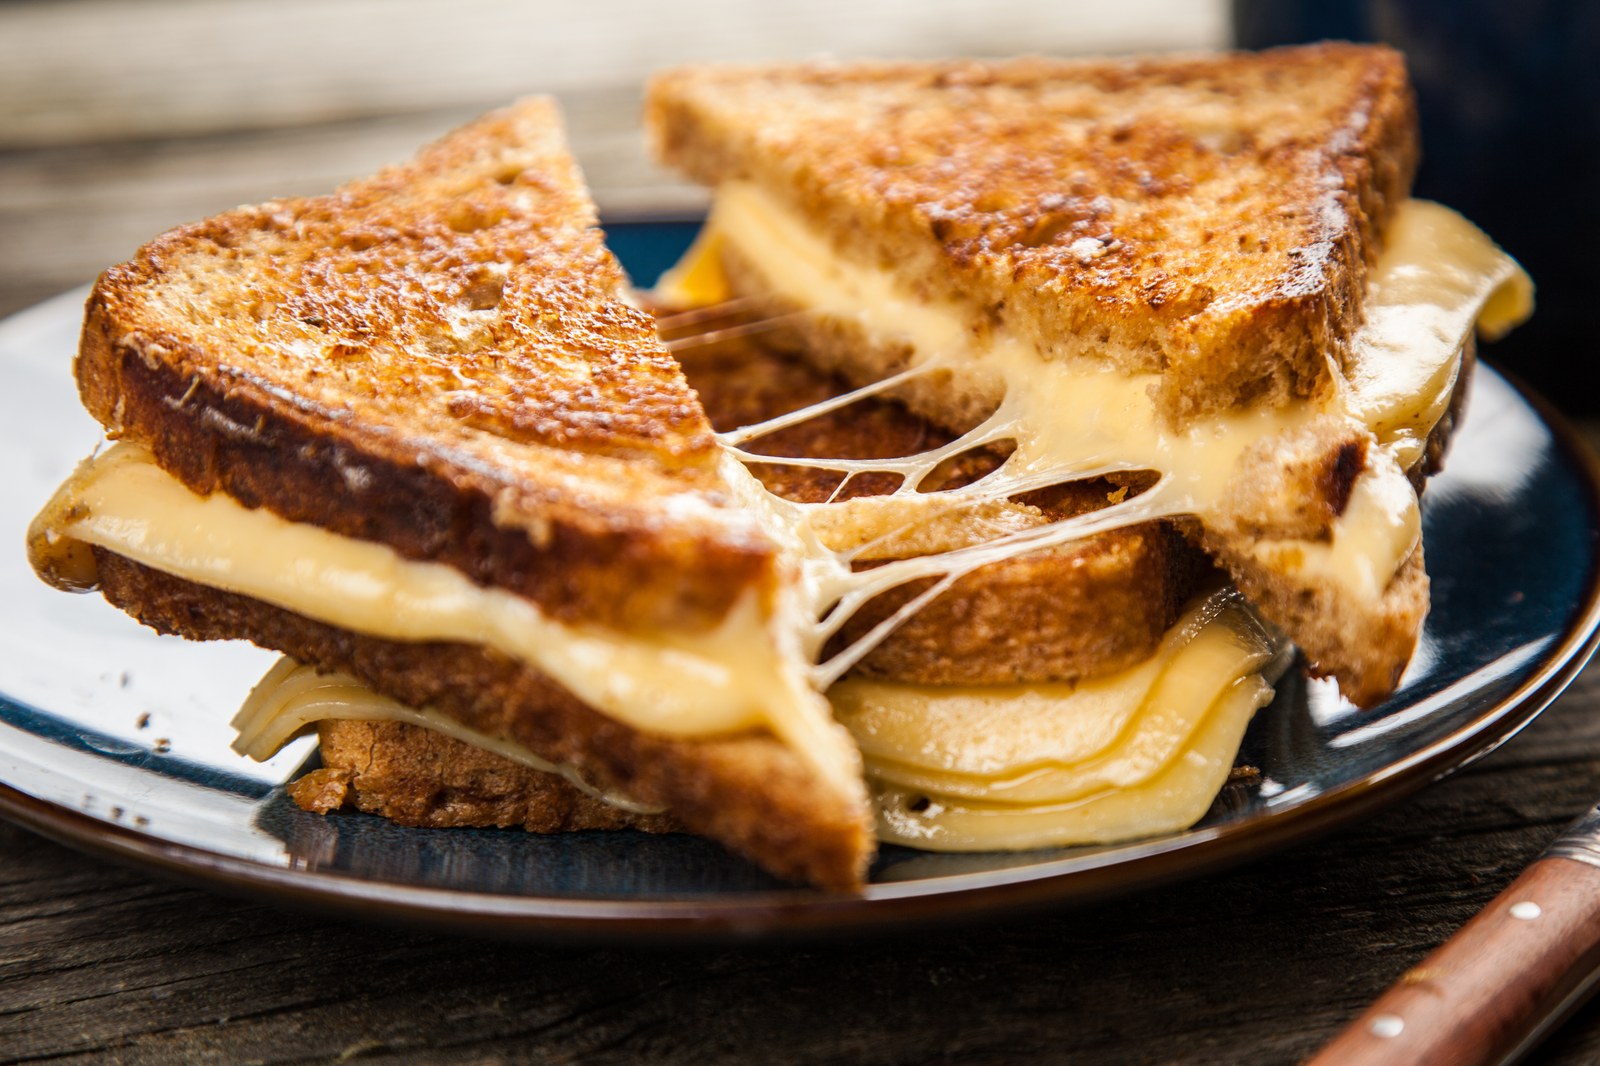
Flip sandwich using spatula. Press gently with spatula to ensure good contact with pan. Cook 3 minutes until second side is golden and cheese is fully melted.
Chef's notes
Best eaten immediately while hot and crispy.
Mix cheese types for more complex flavor (cheddar + Gruyère works well).
Add thin tomato slices or crispy bacon between cheese layers for variation.