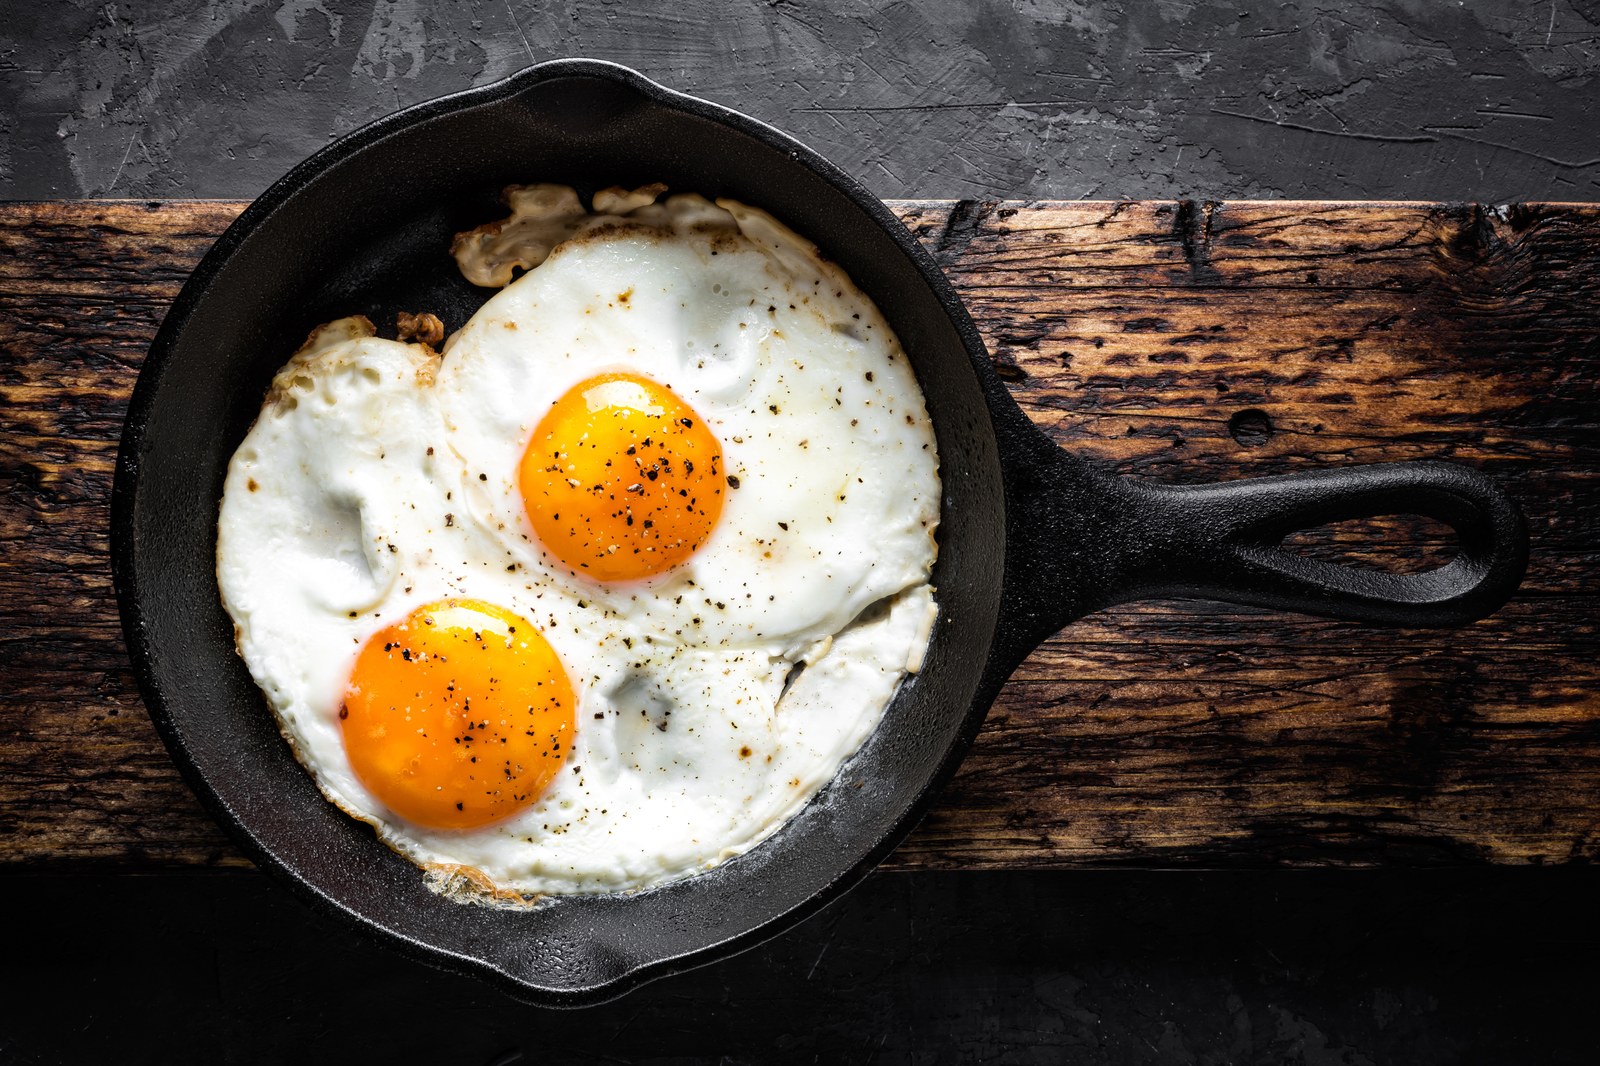
Before you cook
Background Recipe story & origin
Fried eggs represent one of the earliest forms of egg cookery dating back to ancient civilizations. Romans fried eggs in olive oil as documented in Apicius' 'De Re Coquinaria' (circa 1st century CE), though the practice likely predates written records. The technique spread throughout Europe during the Middle Ages, with regional variations emerging based on available fats—butter in Northern Europe, olive oil in the Mediterranean, and lard in many peasant kitchens. French cuisine formalized fried egg terminology in the 19th century: 'œufs sur le plat' (eggs on the plate, or sunny-side up) and 'œufs retournés' (turned eggs, or over-easy). Auguste Escoffier's 'Le Guide Culinaire' (1903) codified these preparations, establishing doneness standards still used today. In America, diner culture of the 1920s-1950s popularized fried eggs as breakfast staples, with short-order cooks developing rapid-fire techniques and the coded language of 'sunny-side up,' 'over-easy,' 'over-medium,' and 'over-hard.' The nonstick pan revolution of the 1960s (Teflon, patented 1941, popularized post-WWII) democratized perfect fried eggs by eliminating the skill barrier of preventing sticking and tearing. Today's method—moderate heat, quality fat, fresh eggs, minimal handling—synthesizes centuries of technique refinement into a simple five-minute preparation that remains fundamentally unchanged from its ancient origins.
Before you start Equipment you'll need
- nonstick skillet — Provides nonstick surface for easy egg release and prevents sticking
- spatula — For flipping eggs if making over-easy style
- bowl — Optional for cracking eggs before adding to pan
Safety Safety & allergen notes
- Hot butter can splatter when eggs hit the pan—add eggs gently to minimize splatter
- Nonstick pan handle stays hot throughout cooking—use a towel or pot holder when moving the pan
- Don't walk away during cooking—eggs can go from perfect to burnt in under a minute on too-high heat
Non-negotiables Rules for success
-
Use fresh eggs
Fresh eggs have tight whites that hold their shape instead of spreading thin and watery across the pan.
-
Heat butter until it shimmers but doesn't smoke
Shimmering means the pan is hot enough to set the whites quickly. Smoking means the butter will burn and taste bitter.
-
Reduce heat to medium-low after adding eggs
High heat browns the edges too fast and makes whites rubbery before yolks warm through.
-
Don't disturb the eggs while cooking
Moving them breaks the delicate whites and tears the yolk. Let them set undisturbed for clean edges and intact yolks.
Prep Get set first
About 2 min of prep
- Set out eggs to come to room temperature
- Have nonstick skillet ready
- Measure butter
- Have spatula nearby
- Prepare serving plates
This really takes 5 minutes. Timing and heat control are everything.
Ingredients
Instructions
Unlock Grouped Step Actions
Plus members get tap-to-check action steps and live ingredient swaps for this recipe.
-
Prepare eggs
Crack eggs and set aside, keeping them ready to add to the pan.
-
Heat the fat
Heat butter in a nonstick skillet over medium heat until it shimmers but doesn't smoke, about 1-2 minutes.
Don't let butter smoke or it will burn and taste bitter
-
Cook eggs
Add eggs to skillet one at a time, keeping them separate. Cook undisturbed for 2-3 minutes until whites are fully set but yolks are still runny. For over-easy eggs, flip gently with a spatula and cook 30 seconds more.
-
Season and serve
Season eggs with salt and pepper to taste. Slide onto plate and serve immediately while hot.
Chef's notes
For crispy lace edges, use higher heat and more butter or oil
Add a splash of water and cover with lid for steam-basted eggs with fully set whites and no flipping
Eggs continue cooking from residual heat after plating so pull them 30 seconds early if you want very runny yolks
Best eaten immediately as fried eggs don't hold or reheat well