Before you cook
Background Recipe story & origin
Tuna salad emerged in the early 1900s when canned tuna became widely available in American grocery stores. The first commercial canning of tuna began in California in 1903, and by the 1910s, companies like Chicken of the Sea (founded 1914) and StarKist (founded 1917) were producing canned tuna for American markets. Home cooks used it the same way they used leftover chicken or chopped ham: mixed with mayonnaise (which became widely available after Hellmann's introduced commercial mayonnaise in 1912), small vegetables, and seasonings to create quick, inexpensive lunches. By the 1950s, tuna salad sandwiches became a staple of diners, delis, and school lunches across the country, appearing in cookbooks like 'The Joy of Cooking' (1951 edition) and 'Better Homes and Gardens New Cook Book' (1953). This classic version reflects that approachable lineage: a few crisp vegetables, lemon for brightness, and creamy dressing, the simple, affordable lunch that became an American comfort food icon.
Before you start Equipment you'll need
- medium mixing bowl — Provides room for combining ingredients without spilling
- fork — Breaks up clumps and mixes ingredients without overworking
- cutting board — Stable surface protects counters and keeps prepped ingredients organized
- chef's knife — Sharp blade makes precise cuts for even cooking and safer prep work
Safety Safety & allergen notes
- Drain tuna fully to avoid water thinning mixture.
- Handle knives carefully when dicing celery and onion.
- Keep tuna salad refrigerated and consume within 2 to 3 days.
- If using albacore tuna, break large pieces apart to ensure even seasoning.
Non-negotiables Rules for success
-
Drain tuna completely before mixing.
Excess liquid dilutes dressing and creates watery salad.
-
Flake tuna with fork, don't over-mash.
Over-mashing creates paste-like texture that loses tuna's natural flaky, tender quality
-
Mix with just enough mayo to bind.
Too much mayo makes salad heavy and masks tuna flavor.
-
Season generously with salt and pepper.
Tuna needs more seasoning than expected to taste properly.
-
Chill at least 30 minutes before serving.
Allows flavors to meld and improves texture.
Prep Get set first
About 3 min of prep
- Prepare medium mixing bowl
- Have chef's knife ready
- Have cutting board ready
- Have fork ready
- Have can opener ready
Tuna salad is quick and simple. Have everything ready before starting.
Ingredients
Instructions
Unlock Grouped Step Actions
Plus members get tap-to-check action steps and live ingredient swaps for this recipe.
-
Drain and flake tuna
Drain tuna thoroughly and place in mixing bowl. Use fork to gently flake into smaller pieces.
-
Mix the ingredients
Add celery, red onion, Dijon, lemon juice, salt, and black pepper.
-
Combine and season
Start with half the mayo and fold gently. Add more until texture is creamy but not heavy.
-
Adjust the seasoning
Taste and adjust salt, lemon juice, or mayo to your preference.
-
Chill and serve
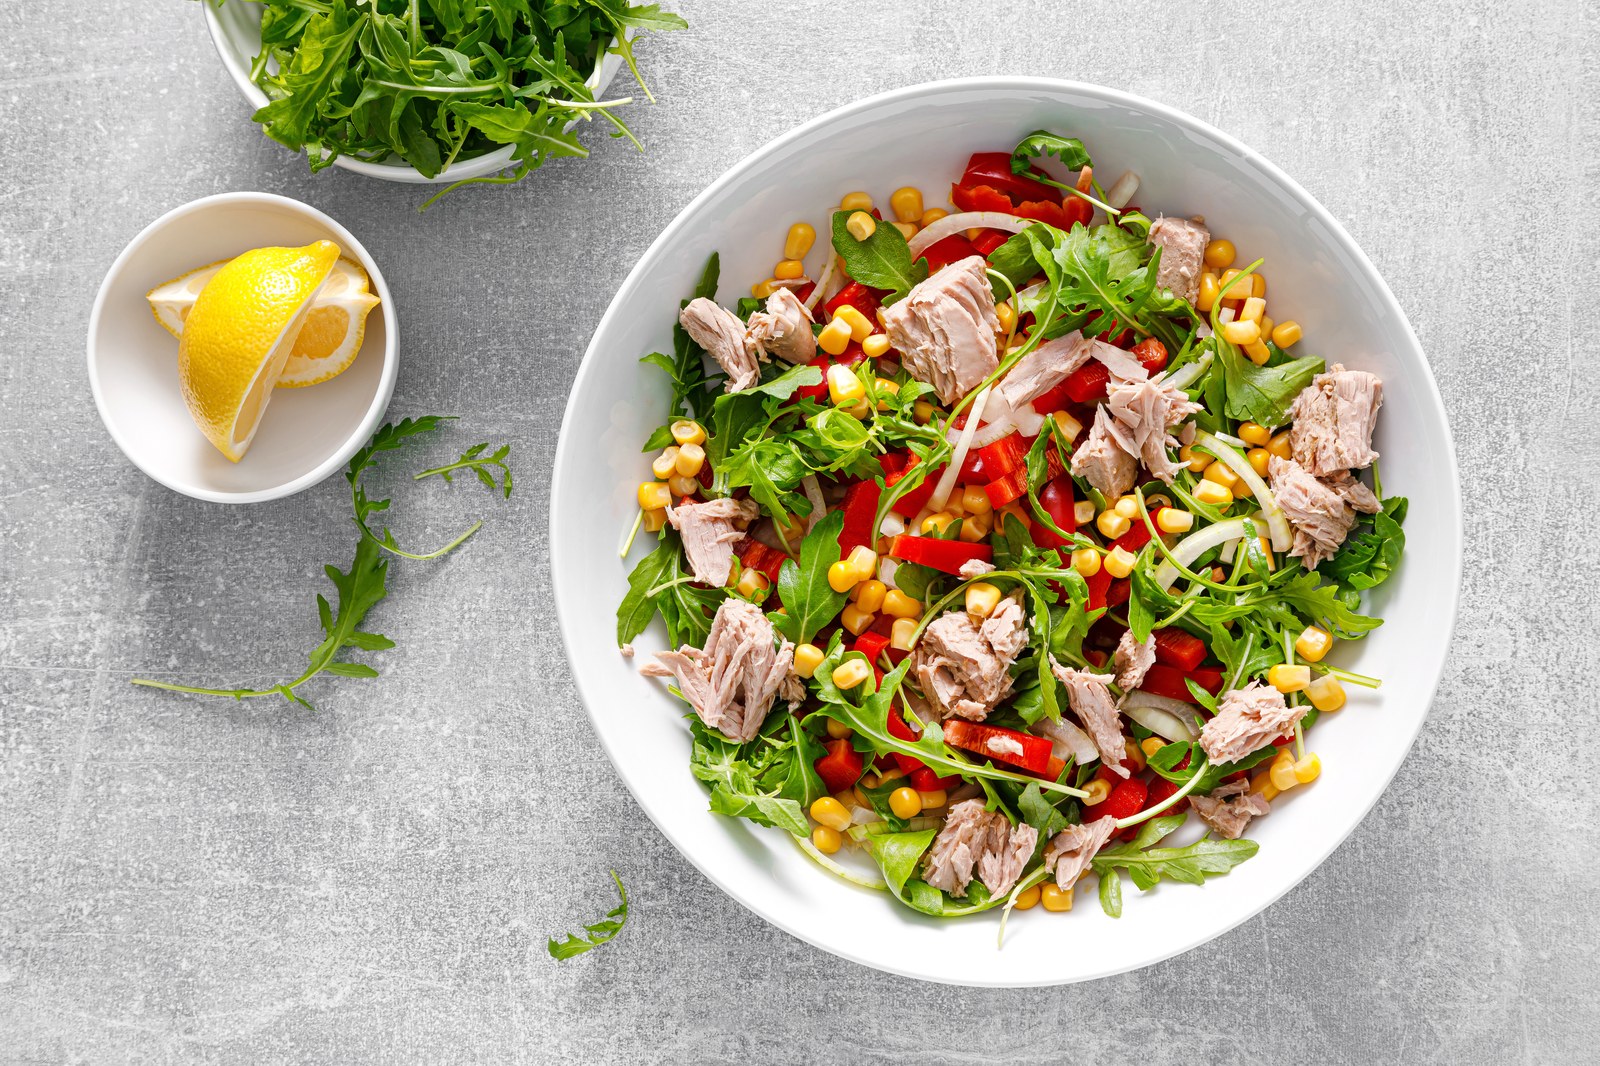
Refrigerate 10 minutes before serving. Use in sandwiches, lettuce wraps, or over greens.
Chef's notes
Built to pair with house salad, simple green salads, roasted vegetables, or as light side for soups.
For richer texture, use half mayo and half Greek yogurt.
For crunchier salad, add extra celery or tablespoon of diced pickles.
The optional hard boiled egg adds classic deli style body.
Tuna salad benefits from brief chill. Flavors round out and meld.