Before you cook
Background Recipe story & origin
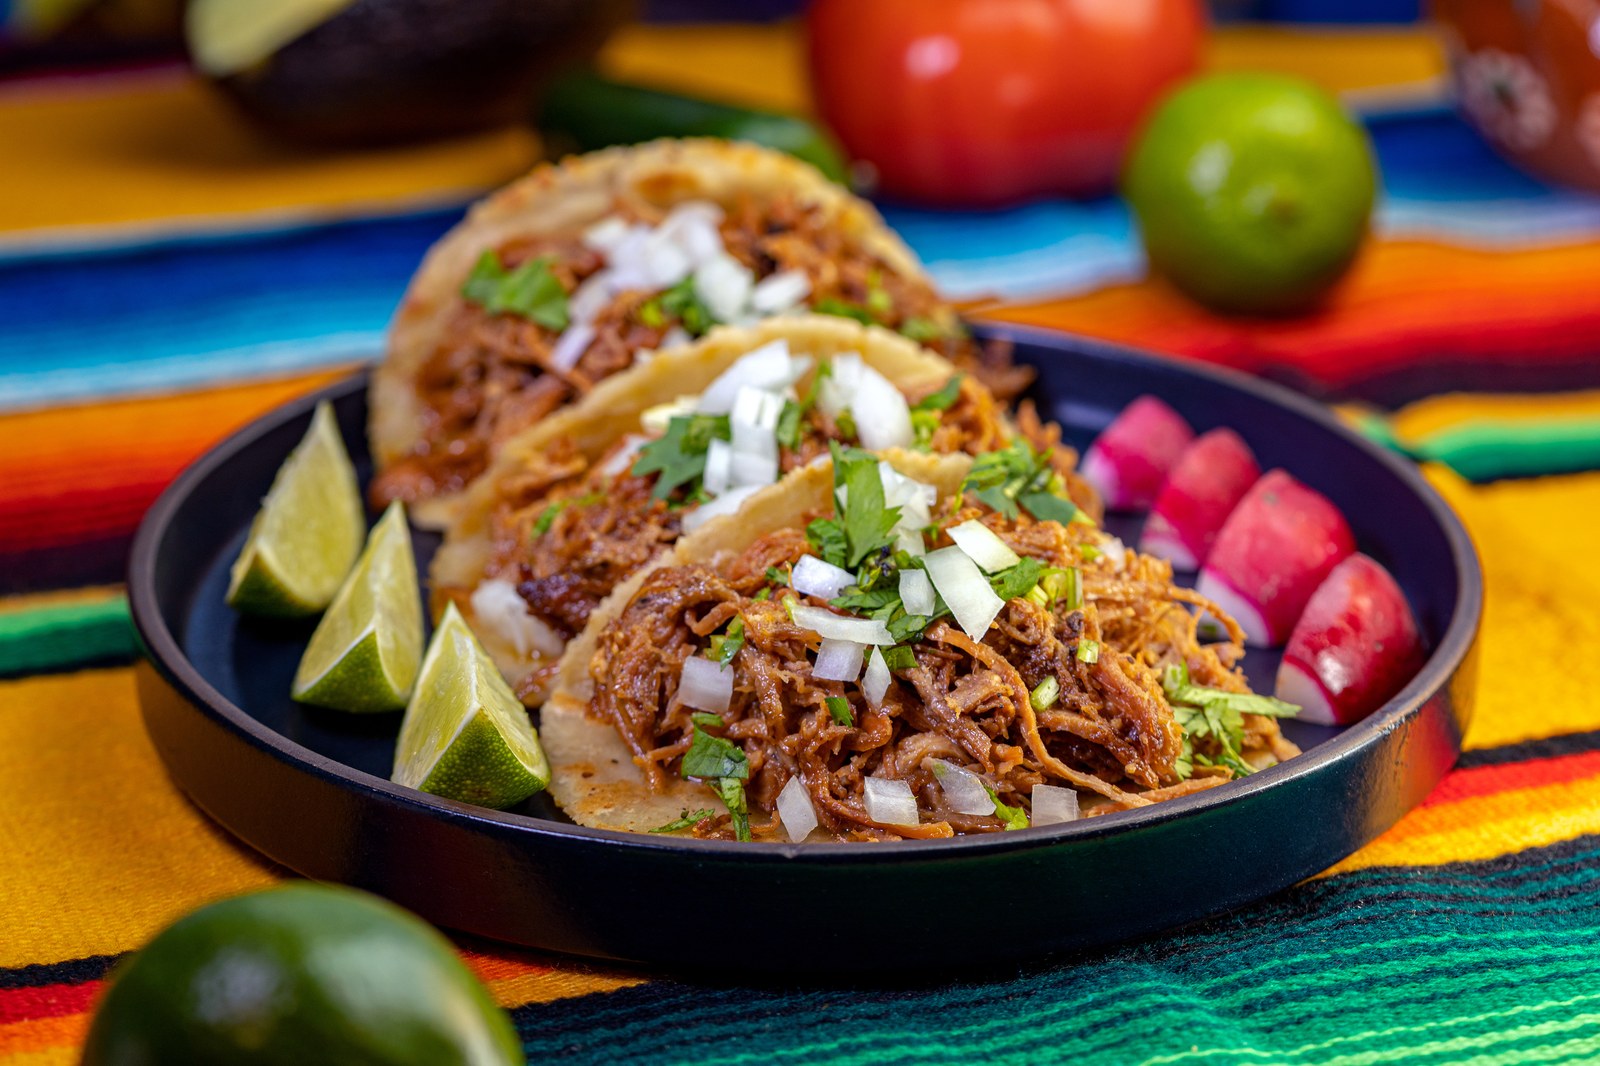
Carnitas trace their roots to the state of Michoacán in west-central Mexico, where the dish has been a culinary cornerstone for centuries. The name translates simply to 'little meats,' a humble title for what many consider Mexico's finest preparation of pork. The technique likely evolved in the colonial era after Spanish settlers introduced pigs to the region in the 16th century, and indigenous cooks adapted the animal to their own traditions of slow, communal cooking. Michoacán's version became the gold standard: large cuts of pork submerged and slowly braised in copper cauldrons filled with rendered lard, a method that produces meat of extraordinary tenderness and depth.nnTraditionally, carnitas were a festive food, prepared in enormous quantities for weddings, market days, and religious celebrations. The copper pot—known as a cazo—is central to the authentic experience, as the metal conducts heat evenly and allows the lard to maintain a low, steady temperature ideal for confiting the pork over several hours. Aromatics like orange, milk, and spices were added not just for flavor but for practical reasons: the citric acid in orange juice helps break down the meat's connective tissue, while milk contributes a subtle richness. Once the pork reached perfect tenderness, the heat would be raised to crisp the exterior in the very fat it had been cooking in—a final step that creates the signature contrast of crackling edges and succulent interior.nnOver time, carnitas spread far beyond Michoacán to become a beloved staple across Mexico and eventually throughout the world. Street vendors and market stalls perfected the art of keeping large batches warm in their braising liquid, crisping individual portions to order on a hot griddle. Today, carnitas appear tucked into tacos with nothing more than onion and cilantro, piled into tortas, or served on a plate alongside rice and beans—each region and cook adding their own subtle touch to a dish whose soul has remained unchanged for generations.
Before you start Equipment you'll need
- Dutch oven or heavy pot — Provides even heat retention for long slow braising until meat becomes meltingly tender
- sheet pan — Crisps shredded pork under broiler until edges are golden and deeply caramelized
Safety Safety & allergen notes
- Pork renders a lot of fat. Use a deep pot to prevent splatter and keep your face and hands away from the pot.
- Dutch oven lid will be hot and steam will escape when opening - use pot holders and lift the lid away from your body.
- Broiler gets very hot. Watch closely when crisping and use oven mitts when handling the sheet pan.
- Hot braising liquid can splatter - use tongs or a spoon to transfer pork and drizzle liquid carefully.
Non-negotiables Rules for success
-
Cut pork into chunks, not one big piece.
More surface area means more crispy edges after broiling
-
Braise low and slow until falling apart.
Rushing the braising process makes tough meat that won't shred properly or become tender
-
Crisp under broiler before serving.
The crispy bits are the point
Prep Get set first
About 8 min of prep
- Cut pork shoulder into 2-inch chunks
- Juice the orange
- Peel and smash 6 garlic cloves
- Quarter the onion
- Measure out salt, cumin, and oregano
- Have Dutch oven ready
This is a 3+ hour recipe with just 8 minutes of prep—the long braise does all the work.
Ingredients
Instructions
Unlock Grouped Step Actions
Plus members get tap-to-check action steps and live ingredient swaps for this recipe.
-
Prep the pork
Cut pork shoulder into 2-inch chunks. Season generously with salt, cumin, and oregano.
-
Braise until tender
Place pork in Dutch oven. Add lard, orange juice, garlic, and onion. Add water to come halfway up the pork. Bring to a simmer. Cover and cook on low 2.5–3 hours until pork shreds easily.
-
Shred the meat
Transfer pork to sheet pan, reserving braising liquid. Shred with two forks into bite-sized pieces.
-
Crisp until golden
Spoon a few tablespoons of braising liquid over shredded pork. Broil 4–5 minutes until edges are crispy and browned. Toss, add more liquid, and broil again if desired.
-
Build the tacos
Serve with warm tortillas, salsa, cilantro, onion, and lime wedges.
Chef's notes
Lard is traditional. Vegetable oil works but less flavor.
Save the braising liquid-it's liquid gold for rice or beans.
Carnitas keep 5 days refrigerated, reheat in skillet with some braising liquid.
Tomorrow's Meal
Crispy Carnitas Tacos with Charred Onions
Shredded leftover carnitas crisped in a hot skillet, served in warm tortillas with caramelized onions and fresh toppings
You'll need to pick up:
Quick overview:
- Slice leftover carnitas into thin pieces or leave in chunks
- Heat 2 tablespoons lard or oil in skillet over medium-high heat
- Fry carnitas 4-5 minutes until edges are crispy and charred
- Warm tortillas in a dry skillet until pliable
- Sauté thinly sliced onions in same skillet until golden and caramelized
- Assemble tacos with carnitas, onions, cilantro, tomatoes, radishes, and lime