Before you cook
Background Recipe story & origin
The modern lemon bar is widely credited to a recipe submitted by Mrs. Eleanor Mickelson and published in a Betty Crocker cookbook around 1963, marking the moment this simple two-layer treat entered the mainstream American kitchen. The combination of a buttery shortbread crust topped with a bright, custardy lemon filling struck the perfect balance between rich and refreshing, and home bakers across the country quickly adopted it as a go-to dessert for potlucks, holiday platters, and afternoon teas.nnOf course, the lemon bar didn't emerge from a culinary vacuum. Its DNA draws from centuries of European citrus desserts—English lemon curd tarts, French tarte au citron, and the tradition of bar cookies that became a practical American adaptation of more elaborate pastries. The postwar era of the 1950s and 60s saw a boom in bar cookie recipes as convenience baking flourished, and lemon bars fit perfectly into that moment: easy to make in a single pan, easy to slice and serve, and impressive enough for company.nnOver the decades, the lemon bar has evolved into a canvas for creativity. Bakers have experimented with Meyer lemons for a sweeter, more floral flavor, added lavender or rosemary to the curd, and swapped the shortbread base for graham cracker or almond flour crusts. Yet the classic version—tangy lemon curd dusted with a snow of powdered sugar over a crumbly butter crust—remains one of the most requested and recognizable treats in American baking, a testament to how perfectly its flavors and textures were balanced from the very beginning.
Before you start Equipment you'll need
- 8-inch square baking pan — Provides the correct size for even baking and proper thickness of lemon bars
- Parchment paper — Prevents sticking and makes removal easier for clean presentation
- Medium mixing bowl — For mixing the shortbread crust ingredients
- Small mixing bowl — For whisking together the lemon filling ingredients
- Whisk — Ensures smooth, lump-free lemon filling and proper incorporation of eggs
- Measuring cups and spoons — Ensures accurate proportions of flour, sugar, lemon juice, and other ingredients
- Wire cooling rack — Allows bars to cool completely before dusting with powdered sugar for better texture
- Cutting board — Provides clean surface for cutting cooled lemon bars into squares
- Sharp knife — Creates clean cuts through the bars without crumbling or dragging
- Fine mesh sieve — Distributes powdered sugar evenly over finished bars for professional appearance
Safety Safety & allergen notes
- Oven racks and pans are extremely hot after baking - use oven mitts or pot holders when removing from oven to prevent severe burns
- Allow the baked crust and filled bars to cool completely before handling to avoid burns from hot filling
- Use a sharp knife and cut away from your body when slicing bars to prevent hand cuts
- Be cautious when whisking eggs - ensure bowl is stable on the counter to prevent splashing
Non-negotiables Rules for success
-
Press crust firmly and evenly into pan bottom
Uneven pressing creates thick and thin spots that bake unevenly; firm pressure ensures the crust holds together and provides a stable base for the filling
-
Bake crust until light golden brown (12-15 minutes)
Pre-baking the crust prevents a soggy, undercooked bottom when the wet filling is added; golden color indicates moisture has been driven off
-
Pour filling over hot crust immediately after baking
Hot crust helps the filling set properly and creates better adhesion; a cooled crust won't integrate as well with the filling
-
Bake filling only until set with slight jiggle in center (18-20 minutes)
Overbaking dries out the filling and creates a rubbery texture; slight jiggle indicates carryover cooking will finish setting as it cools
-
Cool completely in pan for 1 hour before cutting
Cutting warm bars causes them to crumble and fall apart; cooling allows the filling to fully set and firm up for clean cuts
Prep Get set first
About 8 min of prep
- Preheat oven to 350°F
- Line 8-inch square baking pan with parchment paper (overhang on two sides)
- Gather all ingredients: flour, sugars, butter, eggs, baking powder, salt, lemon juice, lemon zest, powdered sugar
- Set out equipment: mixing bowls (medium and small), whisk, measuring cups/spoons, wire rack, cutting board, sharp knife, fine mesh sieve
About 45 minutes active time plus 1 hour cooling before cutting and serving.
Ingredients
Instructions
Unlock Grouped Step Actions
Plus members get tap-to-check action steps and live ingredient swaps for this recipe.
-
Preheat oven and prepare pan
Preheat your oven to 350°F and line an 8-inch square baking pan with parchment paper, leaving an overhang on two sides for easy removal.
-
Mix dry crust ingredients
Combine 1 cup flour, 1/4 cup sugar, and 1/4 teaspoon salt in a bowl.
-
Cut in butter for crust
Cut the softened butter into small pieces and work it into the flour mixture with your fingertips until the mixture resembles coarse breadcrumbs.
-
Press crust into pan
Press the crust mixture firmly and evenly into the bottom of the prepared baking pan.
-
Bake crust until golden
Bake the crust for 12 to 15 minutes until light golden brown, then remove from the oven.
-
Whisk eggs and sugar
Whisk together the eggs and 1 cup sugar in a medium bowl until well combined.
-
Mix dry filling ingredients
In a small bowl, whisk together 2 tablespoons flour, baking powder, and 1/4 teaspoon salt.
-
Combine filling ingredients
Fold the flour mixture into the egg mixture, then stir in the lemon juice, lemon zest, and any additional salt to taste.
-
Pour filling over crust
Pour the lemon filling over the hot crust, spreading it evenly.
-
Bake until filling is set
Bake for 18 to 20 minutes until the filling is set but still slightly jiggly in the very center.
-
Cool completely
Remove from the oven and allow to cool completely in the pan on a wire rack for about 1 hour.
-
Remove bars from pan
Once cooled, use the parchment overhang to lift the entire bar out of the pan and place on a cutting board.
-
Cut and dust with powdered sugar
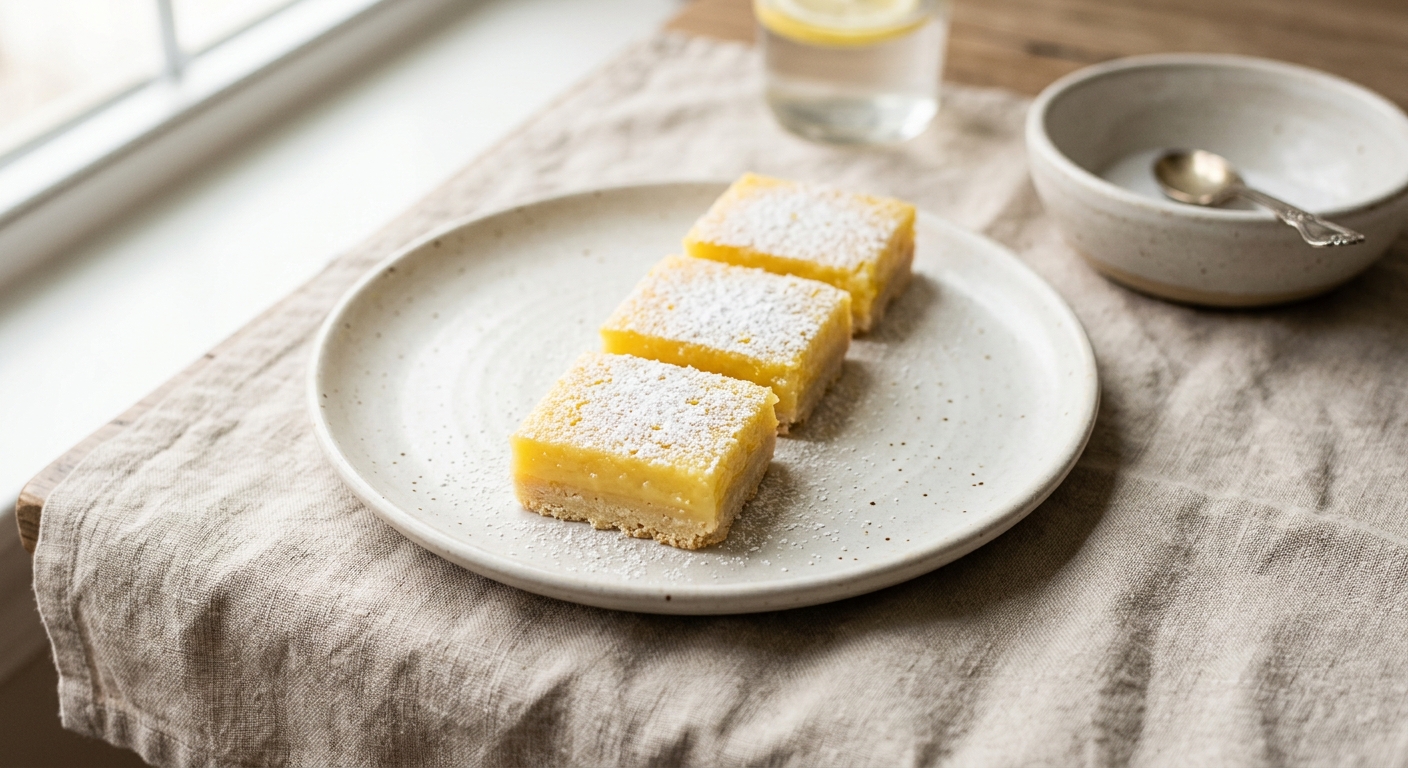
Cut into 6 equal pieces and dust generously with powdered sugar before serving.
Chef's notes
Store cooled lemon bars in an airtight container at room temperature for up to 3 days, or refrigerate for up to 5 days.
For extra tang, add 1/2 teaspoon more lemon zest or 1 tablespoon more lemon juice to the filling.
Serve chilled or at room temperature with tea, coffee, or lemonade.
Tomorrow's Meal
Lemon Bar Cheesecake Parfait
Crumbled lemon bars layered with whipped cream cheese and fresh berries for an elegant dessert
You'll need to pick up:
Quick overview:
- Cut leftover lemon bars into bite-sized pieces and crumble roughly
- Whip softened cream cheese with powdered sugar until fluffy
- Fold in whipped heavy cream to create mousse
- Layer in glasses: crumbled lemon bar, cream mixture, berries, repeat
- Chill until serving, top with extra crumble and fresh mint