Before you cook
Background Recipe story & origin
Quail eggs have a rich history spanning thousands of years, with evidence of their consumption dating back to ancient China and Japan, where they were considered luxury items reserved for emperors and nobility. The eggs were highly valued not only for their delicate flavor and creamy yolk but also for their purported health benefits—traditional Chinese medicine practitioners believed quail eggs possessed restorative and energizing properties. In Japan, quail eggs became particularly popular during the Edo period (1603-1868), when they were served in high-end kaiseki restaurants and featured in elaborate dishes.nnThe cultivation of quail for egg production became more formalized in the early 20th century, particularly in Japan, where selective breeding produced birds optimized for consistent egg laying. Scrambled quail eggs emerged as a refined preparation method, allowing the rich, slightly gamey flavor and creamy texture of the yolk to shine without heavy seasoning. The dish gained international recognition following World War II, as Japanese cuisine became more accessible to Western audiences, and quail eggs began appearing in upscale restaurants and specialty markets worldwide.nnToday, scrambled quail eggs remain a beloved delicacy, enjoyed both as a gourmet breakfast dish in fine dining establishments and as a simple home preparation. Their smaller size makes them perfect for individual portions, and their nutritional density—higher in protein and certain vitamins compared to chicken eggs—has made them increasingly popular among health-conscious diners. The dish represents a beautiful intersection of ancient culinary tradition and modern appreciation for refined, minimalist cuisine.
Before you start Equipment you'll need
- Medium mixing bowl — Provides adequate space to whisk quail eggs together without splashing, as their small size requires careful handling
- Whisk — Thoroughly incorporates air into delicate quail eggs for fluffy, light scrambled texture
- Non-stick skillet — Prevents tender quail eggs from sticking and tearing during gentle cooking over low heat
- Silicone spatula — Heat-resistant tool for gently pushing and folding eggs without scratching non-stick surface
- Kitchen scissors — Convenient alternative to cracking for opening delicate quail egg shells cleanly
Safety Safety & allergen notes
- Quail egg shells are harder than chicken eggs - use kitchen scissors carefully to avoid cutting your fingers when snipping the tops
- Non-stick skillet and melted butter are hot - use pot holders when handling and keep hands away from steam
- Silicone spatula may retain heat - allow it to cool briefly before setting down on countertops
- Remove eggs from heat while still slightly wet to prevent overcooking and rubbery texture from residual heat
Non-negotiables Rules for success
-
Use low to medium-low heat throughout cooking
High heat causes quail eggs to cook too quickly and become rubbery instead of creamy; low heat allows gentle curd formation
-
Whisk gently and avoid creating excessive foam
Over-whisking incorporates too much air, creating a fluffy texture instead of the dense, creamy scramble desired for quail eggs
-
Stir constantly with a figure-eight motion from edges to center
Constant gentle stirring ensures even cooking and prevents large curds from forming; edge-to-center motion prevents sticking and promotes uniform texture
-
Remove from heat when eggs still look slightly wet
Quail eggs continue cooking from residual heat after removal; stopping while wet prevents overcooking and ensures soft, creamy final texture
Prep Get set first
About 5 min of prep
- Gather all 12 quail eggs
- Measure out butter (2 tablespoons) and heavy cream (2 tablespoons)
- Have salt and freshly ground black pepper accessible
- Assemble medium mixing bowl, whisk, and silicone spatula
- Place non-stick skillet on stovetop
- Have kitchen scissors nearby (optional, for opening quail eggs)
- Chop fresh chives if using as garnish
- Have serving plates ready
This is a quick 10-minute dish—most of the time is active cooking, so have everything prepped and ready before you start heating the pan.
Ingredients
Instructions
Unlock Grouped Step Actions
Plus members get tap-to-check action steps and live ingredient swaps for this recipe.
-
Crack the quail eggs
Crack the quail eggs into a medium bowl. Use kitchen scissors to snip the tops if needed, as the shells are tougher than chicken eggs.
-
Season and whisk the egg mixture
Add the heavy cream, a pinch of salt, and pepper to the eggs. Whisk gently until well combined but not overly frothy.
-
Melt butter in the skillet
Heat a non-stick skillet over low to medium-low heat and add the butter. Let it melt completely and coat the pan.
-
Add the egg mixture to the pan
Pour the egg mixture into the skillet once the butter is melted but not browning.
-
Scramble the eggs low and slow
Using a silicone spatula, gently stir the eggs in a figure-eight motion, pushing from the edges toward the center. Continue stirring slowly and constantly for 2 to 3 minutes until the eggs form soft, creamy curds. Remove from heat when they still look slightly wet, as they will continue cooking from residual heat.
-
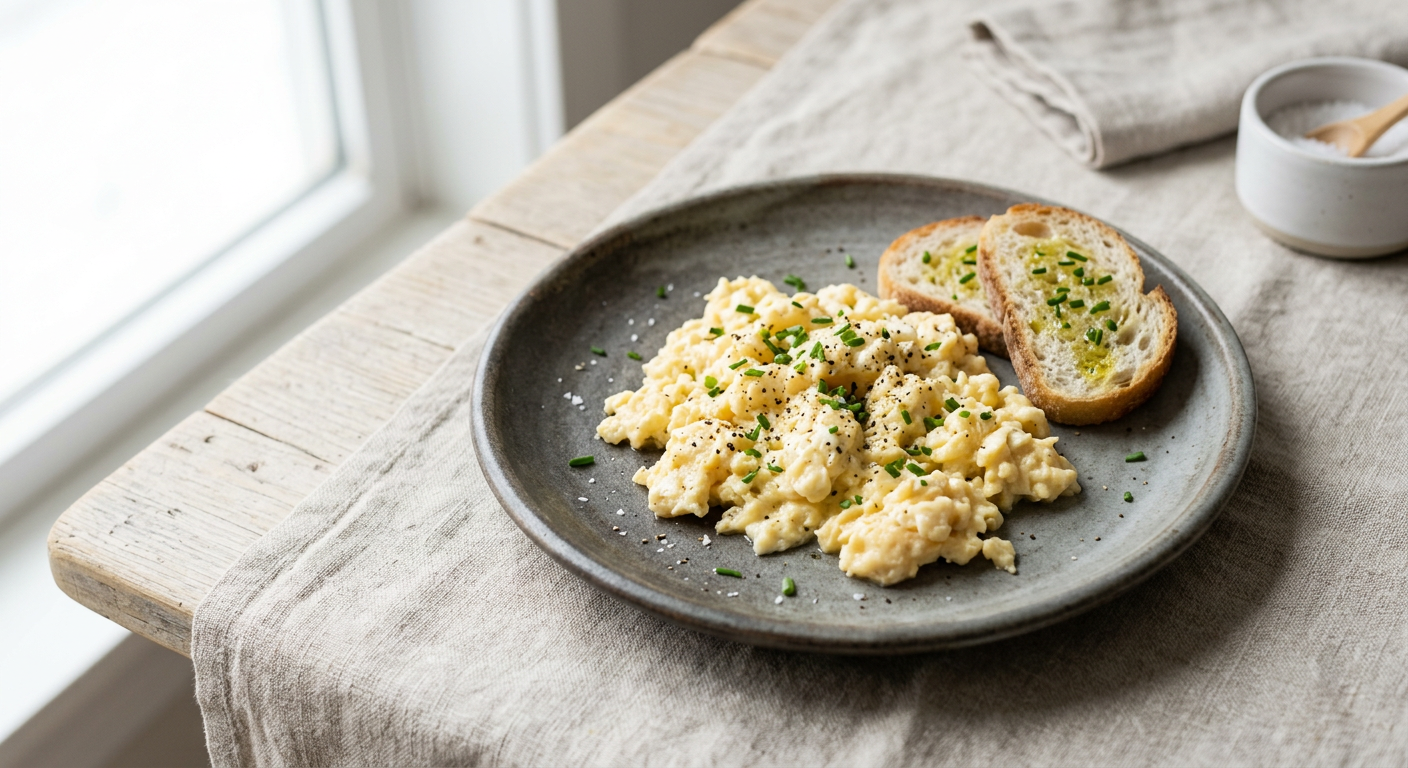
Plate and garnish
Transfer immediately to serving plates and garnish with fresh chives if desired. Serve at once.
Chef's notes
Serve immediately for the best texture, as scrambled eggs do not hold well
Quail eggs have a richer yolk-to-white ratio than chicken eggs; use 3-4 quail eggs per person as a substitute for 1 large chicken egg
For creamier eggs, add a splash of crème fraîche or heavy cream before cooking
Cook over low heat and stir frequently to achieve soft, custard-like curds